

In this story, which was originally published in Stage Directions Magazine, Lydia Lopez, a scenic intern at Arizona Theatre Company, explains how she and the other ATC scenic artists used Rosco Off Broadway Paints to tone & age their set for a production of Fences.
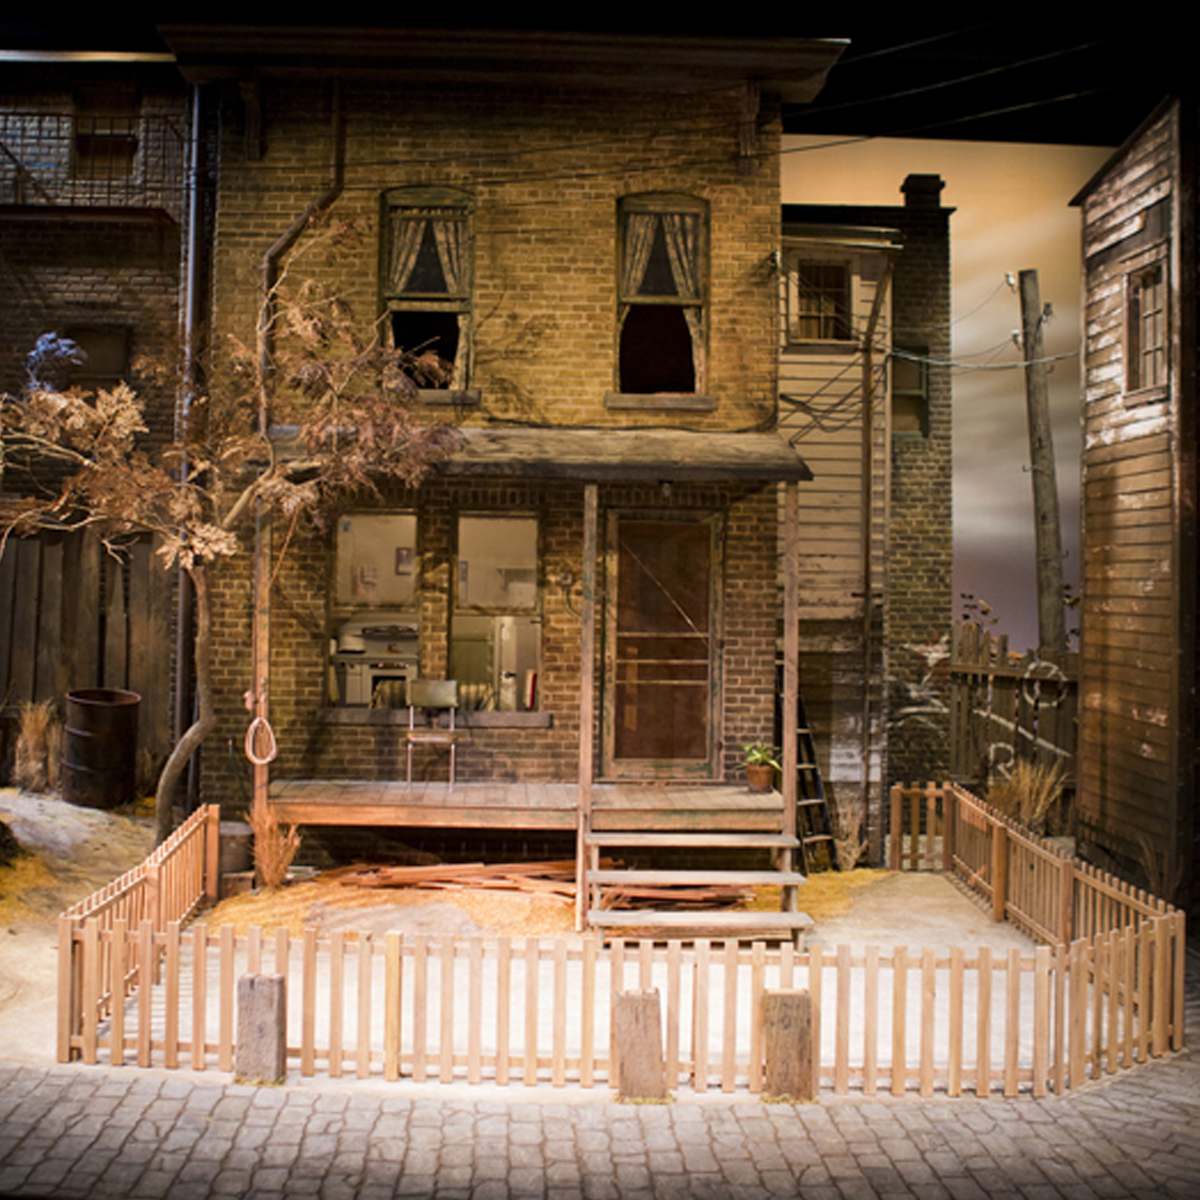
 For Fences at Arizona Theatre Company, Scenic Designer Vicki Smith and Charge Scenic Artist Brigitte Bechtel presented to us an opportunity to help create a set that needed to look grungy, worn and real, with rusting metal, peeling paint on wood, tattered pavers and aged brick.
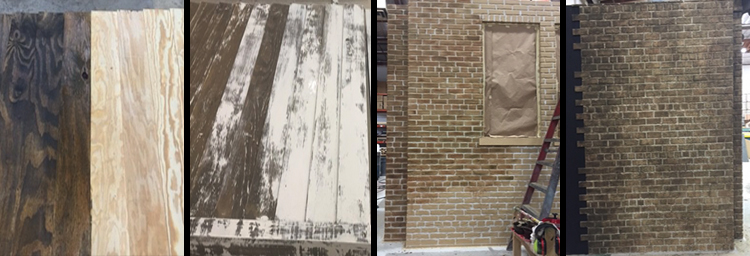
For the creation of the aged brick, the process consisted of about 10 steps, starting with milling brick shapes from about 75 4-foot-by-8-foot sheets of ½-inch soundboard on a CNC ShopBot machine. Then we distressed the perfect brick patterns using primarily grinders and other tools found in the shop. After the necessary level of distress was achieved, 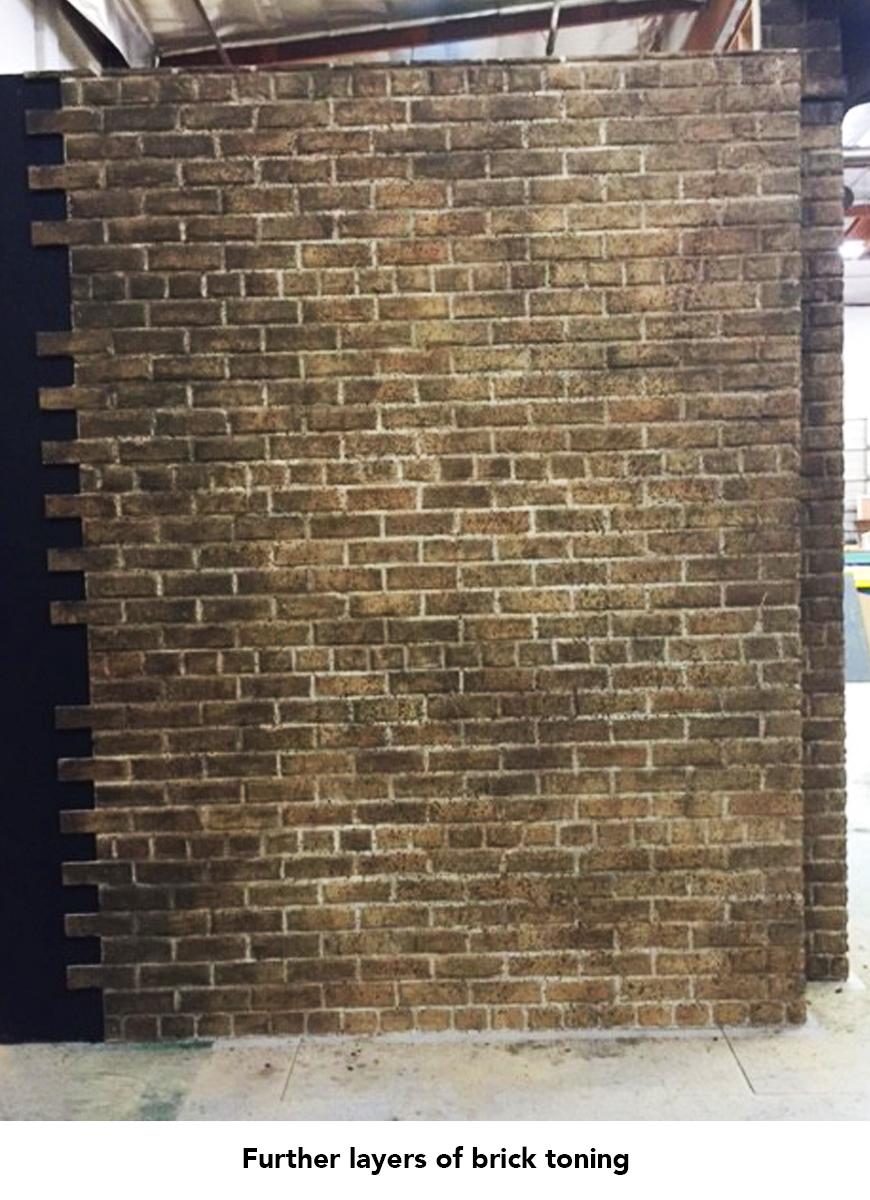 we coated the sheets with a layer of Henry brand elastomeric primer and coating tinted to the color of the mortar with universal tints. Once completely dry, we used a common house paint to roll the base color on the brick. The mortar lines were carefully avoided in this step. Once dry, the toning process began.
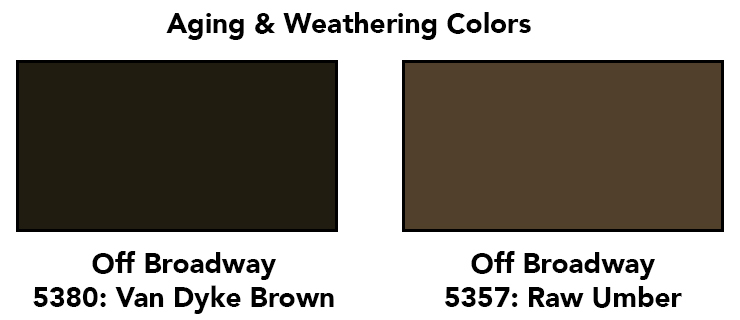
We used three different colors to tone and individualize the bricks: Rosco Off-Broadway paints in Raw Umber, Van Dyke Brown and Burnt Umber diluted to a wash consistency. The paints were mixed with Plastic Varnish Flat from Sculptural Arts Coating to add more binder back into the mix and to add protection since the set was traveling. We used brushes and rags to apply the toning wash to the bricks, and did some spattering to help unify some areas and provide a bit of texture.

The aging process was next, using primarily Van Dyke and Raw Umber colors in a heavier application. The purpose was to create dirt, water, and rust stains in order to give an aged look. This step allowed for the mortar lines to start getting “dirty” as well so they weren’t bright white and wouldn’t stick out against the grungy bricks. We used rags, sponges and water sprayers; really anything that worked to create a layer of dirt on the walls. After one coat, we had our designer Vicki give us feedback on areas that needed more “dirt,” so we went back and did another layer where she indicated. No sealer was necessary as PVF was introduced into the paints.
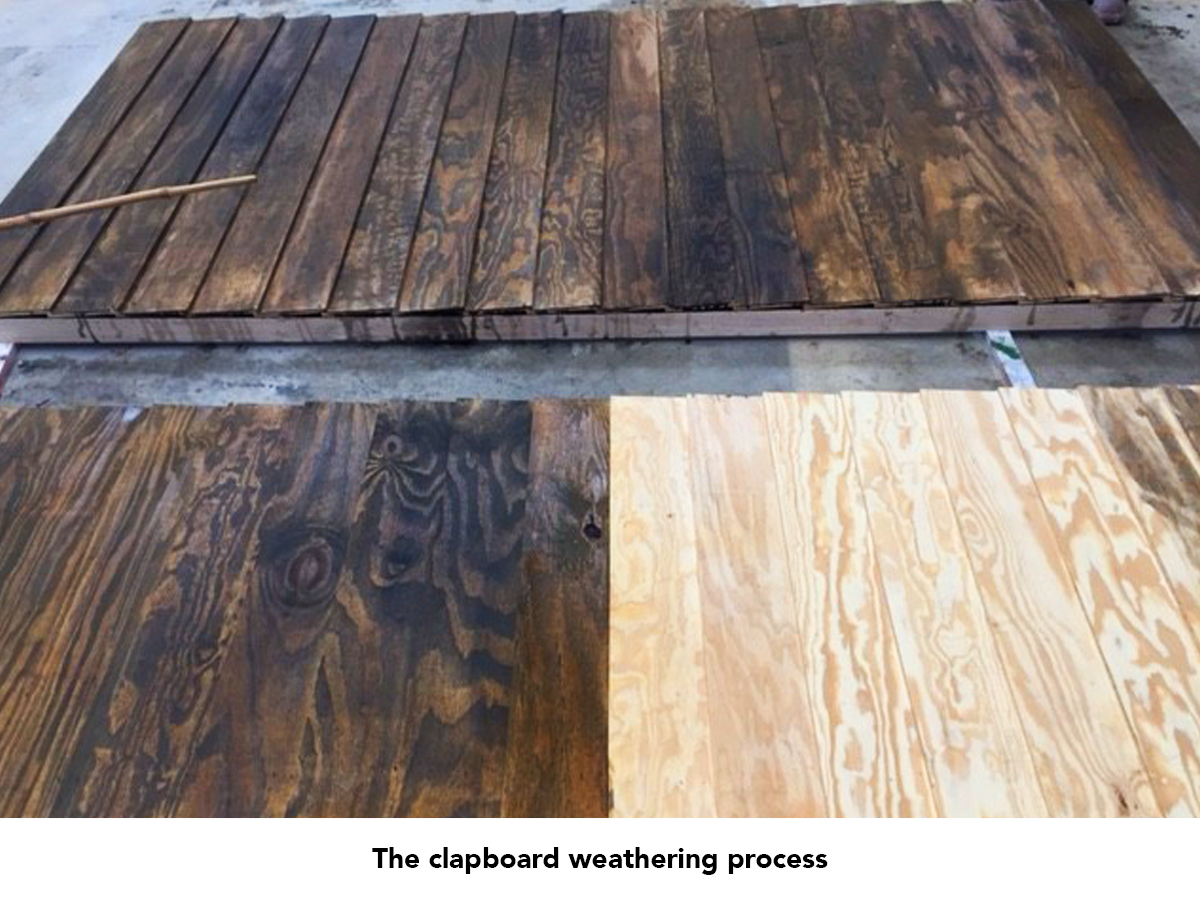
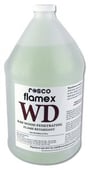 The aged clapboard walls were similar, beginning with color washing the raw wood to darker, cooler hues and finishing with the application of paint with a block of wood dragged onto the surface in order to create that chipped-away paint look. First the clapboard flats were built with the raw wood. Tar paper was attached to the scenic flat as specified by the scenic designer, and the raw clapboarding was added over that. We then flame-treated the raw wood with Rosco Flamex WD. More Raw Umber and Van Dyke paint was used to weather the wood. The walls were laid flat on the shop floor, and we spread the colors on the surface of the clapboards with brushes and by spraying water to wash the colors evenly. The water worked as a blending medium for the various colors in our directional blending on the clapboards, and also helped us achieve the desired level of color intensity.
 Once the clapboard surface dried, we started the chipped, faded paint look using Glidden Speed-Wall flat white interior paint, tinted with universal tints in Raw Umber and Burnt Umber. Using a large, lay-in brush, we dry-brushed in heavier areas and used the block of wood trick on more faded areas, according to the designer’s rendering.
For the block of wood trick, any scrap block of wood that is clean and easy to hold will work. The bottom surface of it is dipped in paint on a paint tray or flat surface. This is taken and scraped steadily across the surface you are wanting to distress, in the direction of the original paint 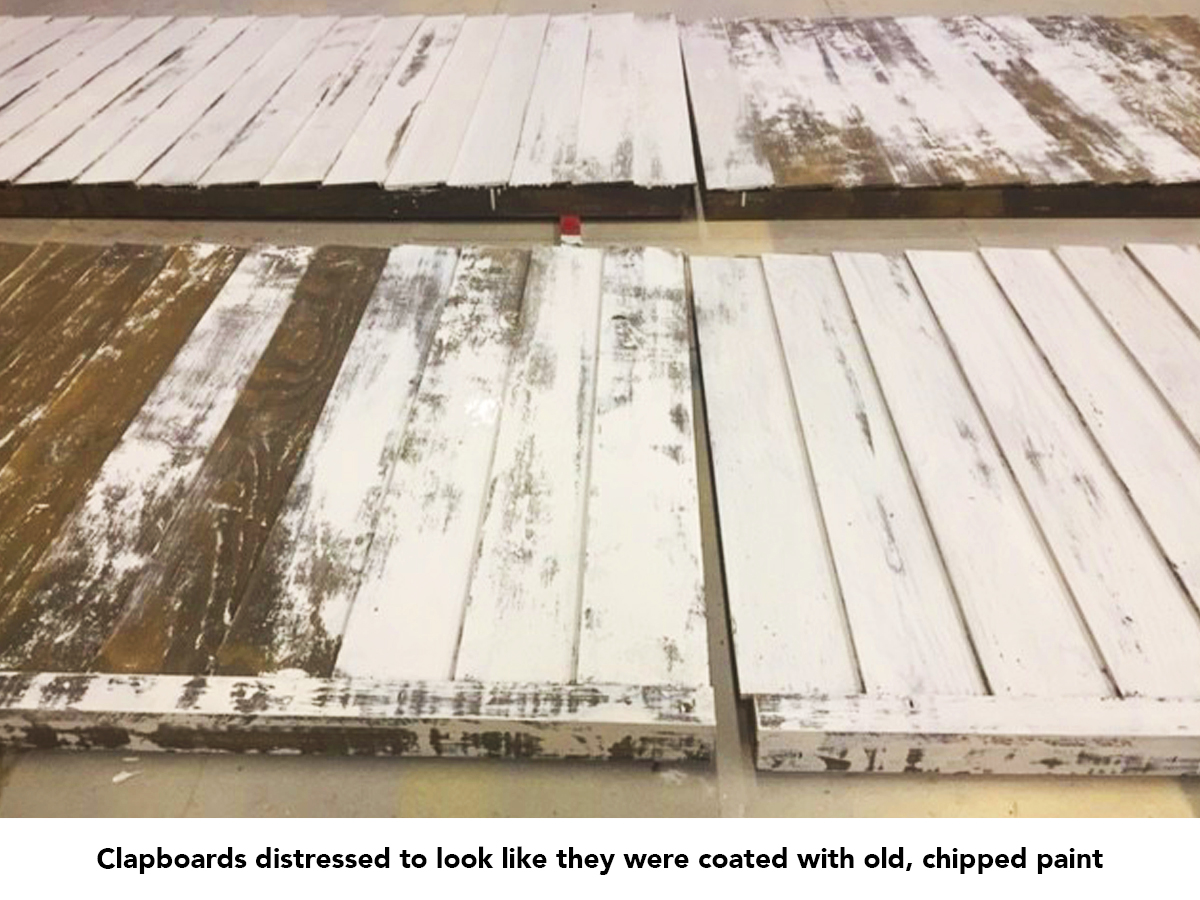 treatment application. I learned this brick trick from ATC’s charge artist, Brigitte, and she learned it from a sign painter who knew a lot of old styles of painting. It was a great way to achieve the distressing we wanted on this particular set.
Many of these aging and distressing processes are about building upon and elevating the rich textures and patterns already found in the materials used. By simply building layers to give that grungy, worn look, ATC’s scenic artists tell the story of Fences and help bring it to life.
 Thanks to Stage Directions Magazine and Arizona Theatre Company's design & paint crew for sharing this story. For more tutorials on how to create a variety of scenic finishes, visit our Paints, Coatings and Scenic Tools web page.
Joel Svendsen August 26, 2016 Questions?

Marketing Director: Joel's Rosco career began in Rosco's Hollywood office in 1999 – first in sales covering the Western US and the Los Angeles Film & Television market, and then as Product Manager for Rosco's Film & Television Products. Joel's knowledge about Rosco's products and how they're used in each of our different marketplaces makes him well suited for bringing the stories in Spectrum to life.