

Every photographer knows what it’s like to get an idea for a photograph and then struggle to figure out how to execute the shot that’s in their head.
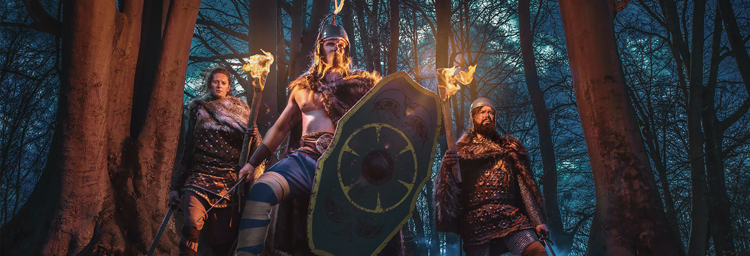
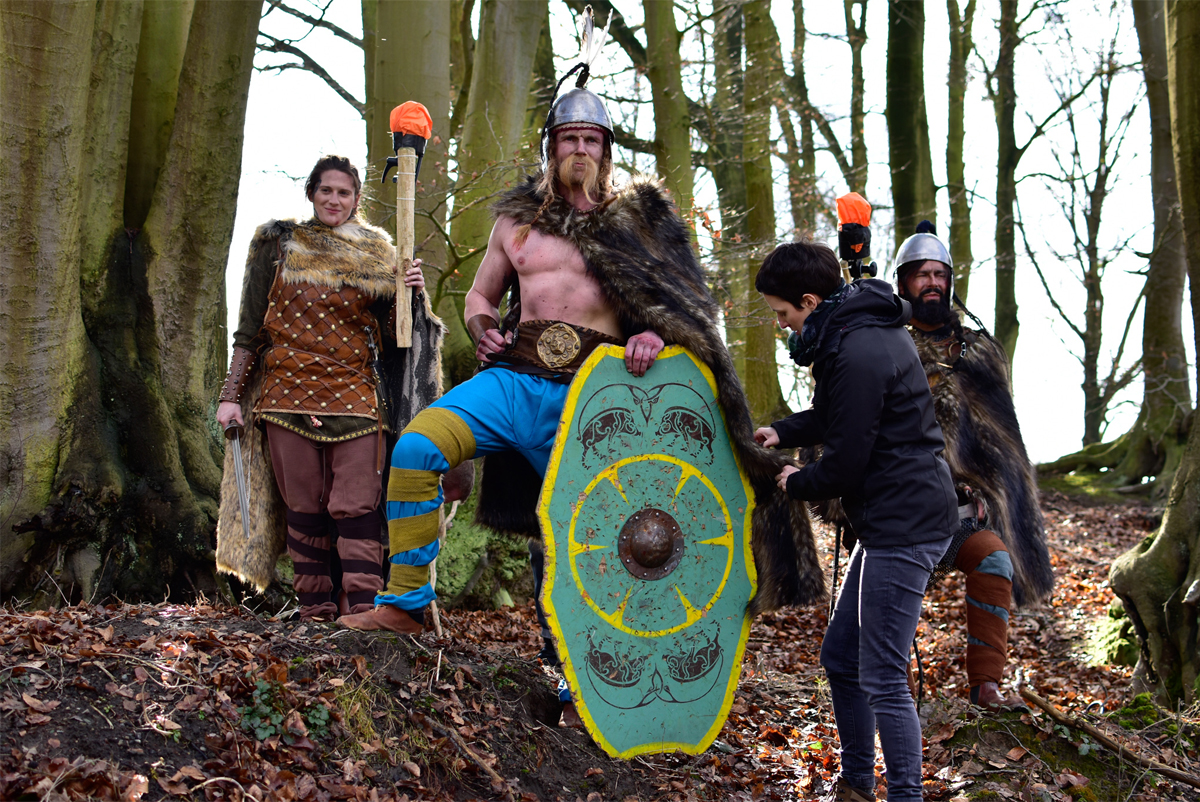
In this case, the idea belonged to photographer Andy Van den Eynde who imagined a heroic band of torch-bearing Gauls venturing into the Belgian forest on a misty, cloudy evening. The challenges came in the form of execution as Andy asked himself questions like “how do I create that glow from the fiery torches?” And “how do I get that dark blue sky during an afternoon photo shoot?”
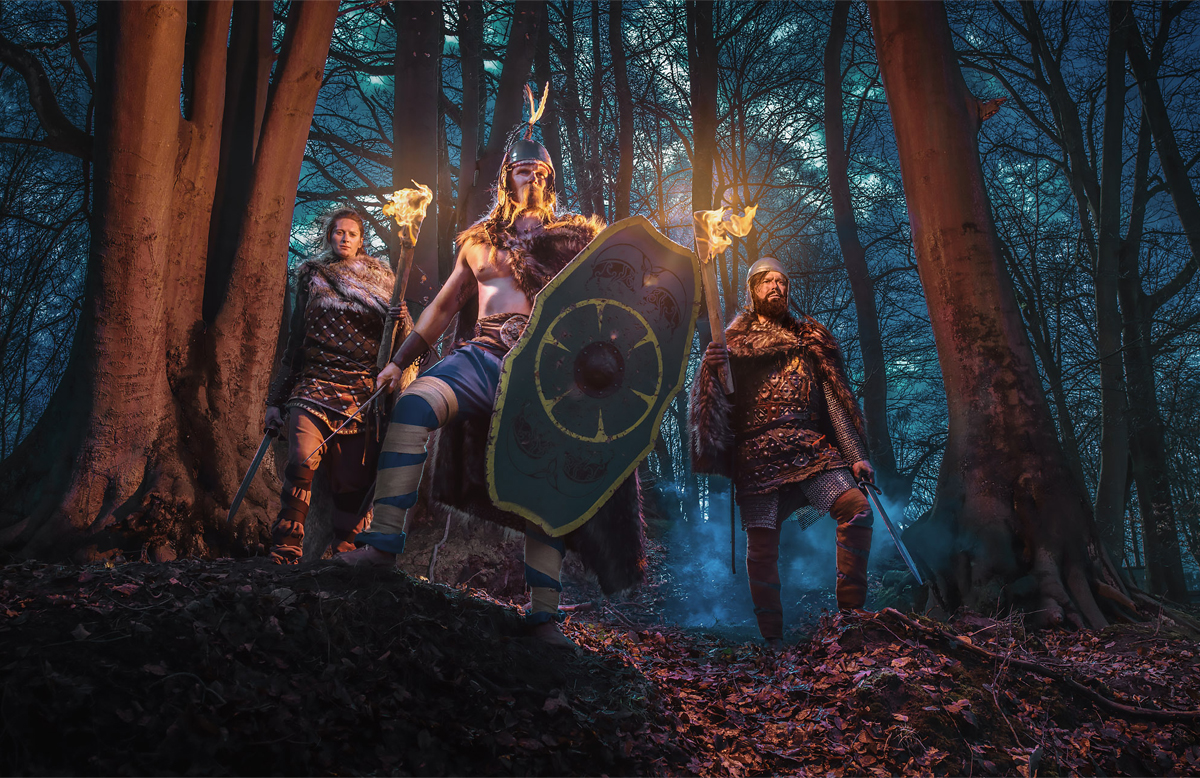
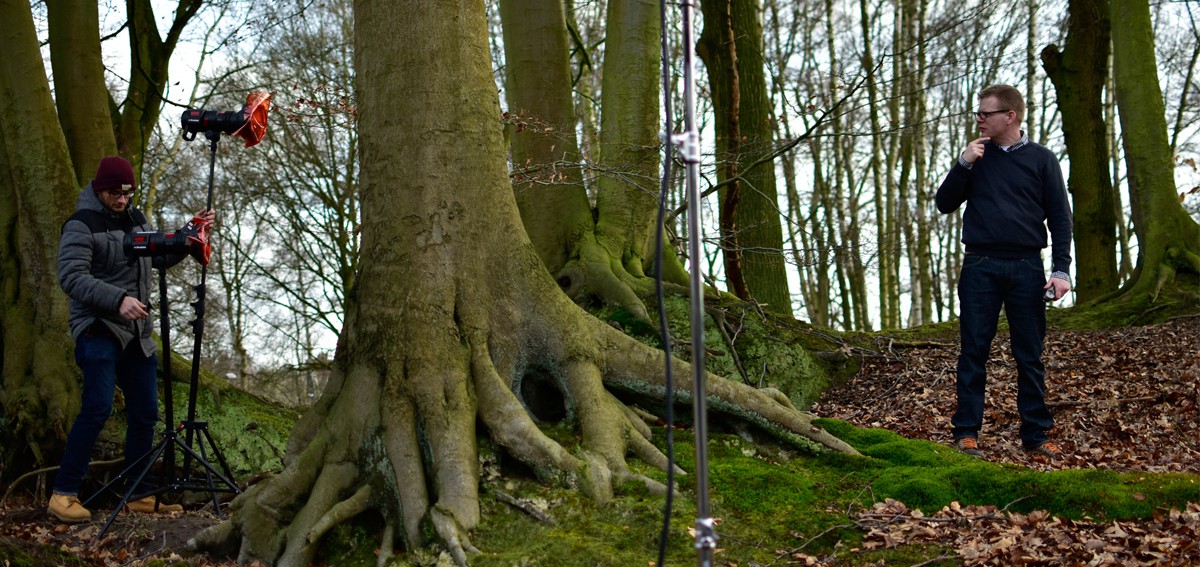
Andy was kind enough to invite me behind the scenes of the photo shoot as he brought his idea to life. While I was there, I got to see how he used several Rosco products to enhance his shot. Here is how he did it:
Watch this video to go fully behind-the-scenes with Andy Van den Eynde and see his color correction techniques during this inventive photo shoot.
 Andy set the camera white balance to 2800K. This one simple step sets the mood by casting everything in this outdoor shot in blue – especially the sky.
 Anything Andy wanted to appear “normal” in the shot needed to be bathed in 2800K light. So, he applied CTO filters from the Color Correction Filter Kit to the beauty dish and all of the strobes illuminating the shot.
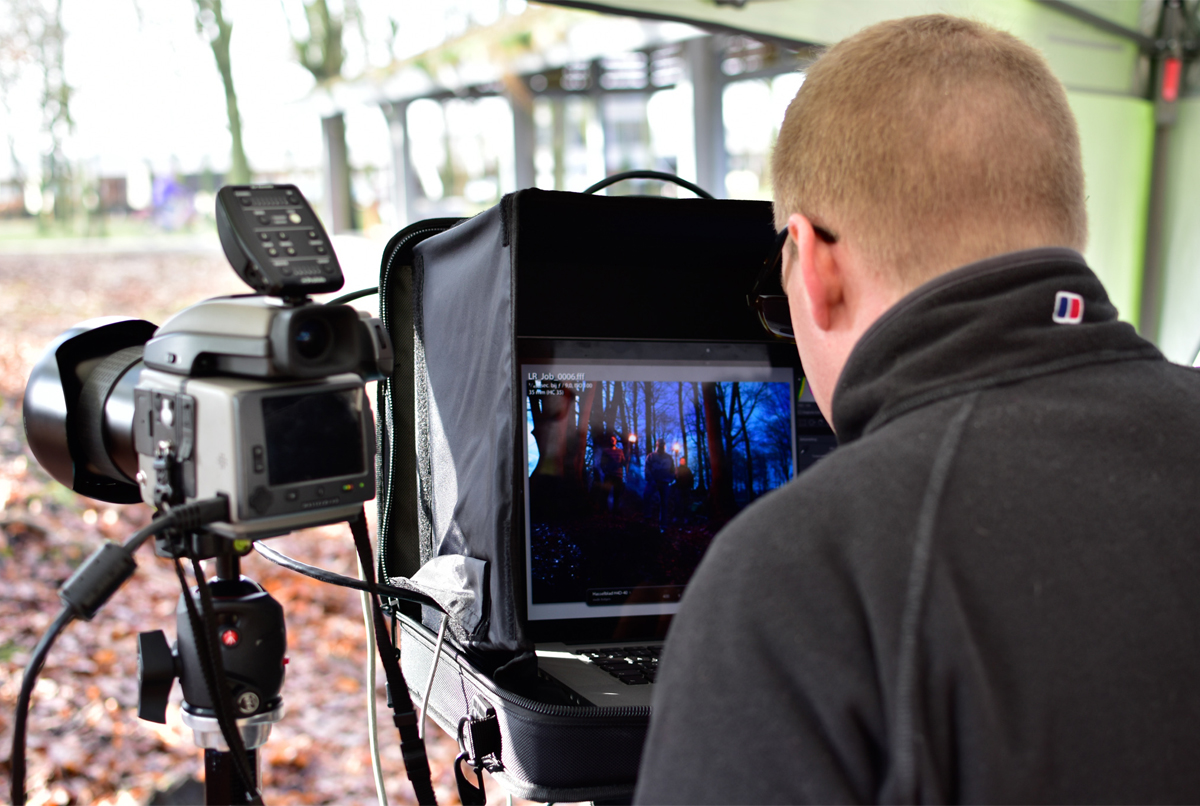
 Originally, Andy wanted torches with real fire. It turned out that wasn’t going to be possible because the forest he was shooting in had a fire ban in place. So, Andy and his crew created torches using their flashes – but they needed some heavy color correction in order to warm those torches up and bring their color temperature down to the 1800K of flame.
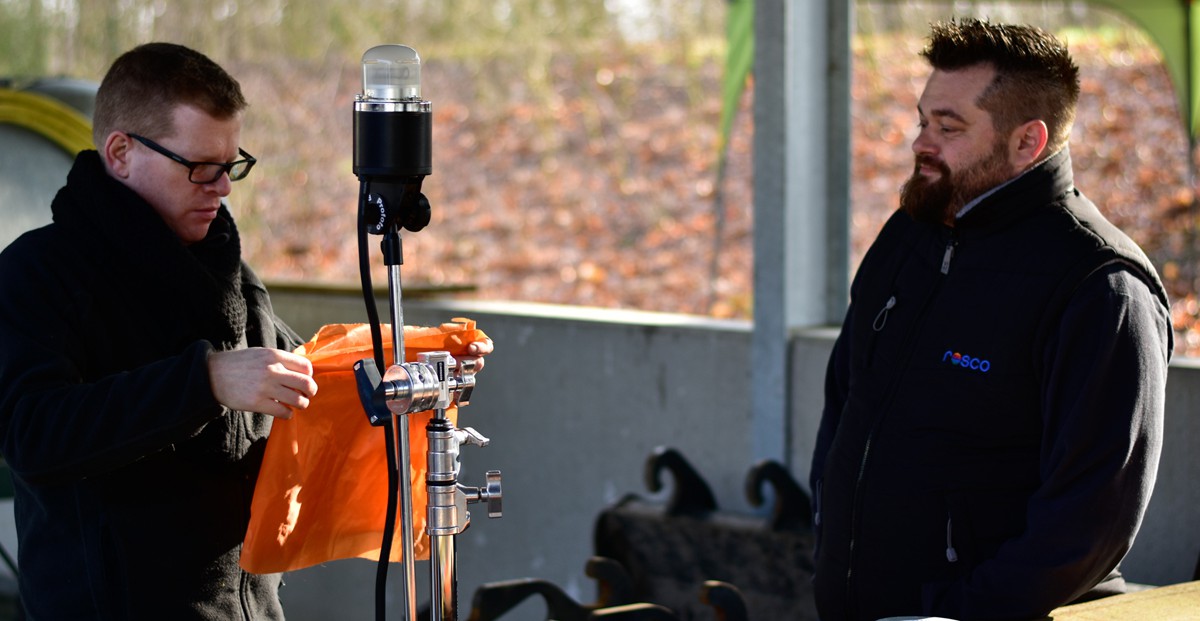 Andy and his crew wrapped the flashes in a double layer of Cinegel #3081 Full Straw Dyed Grid Cloth to create the orange glow of the fire. A single layer would have made the torchlight appear white, because it simply would have balanced the 5600K flash to the 2800K white balance. The second layer of Dyed Grid gave them the warm fiery glow they wanted, and the actual flames were added in Photoshop later.
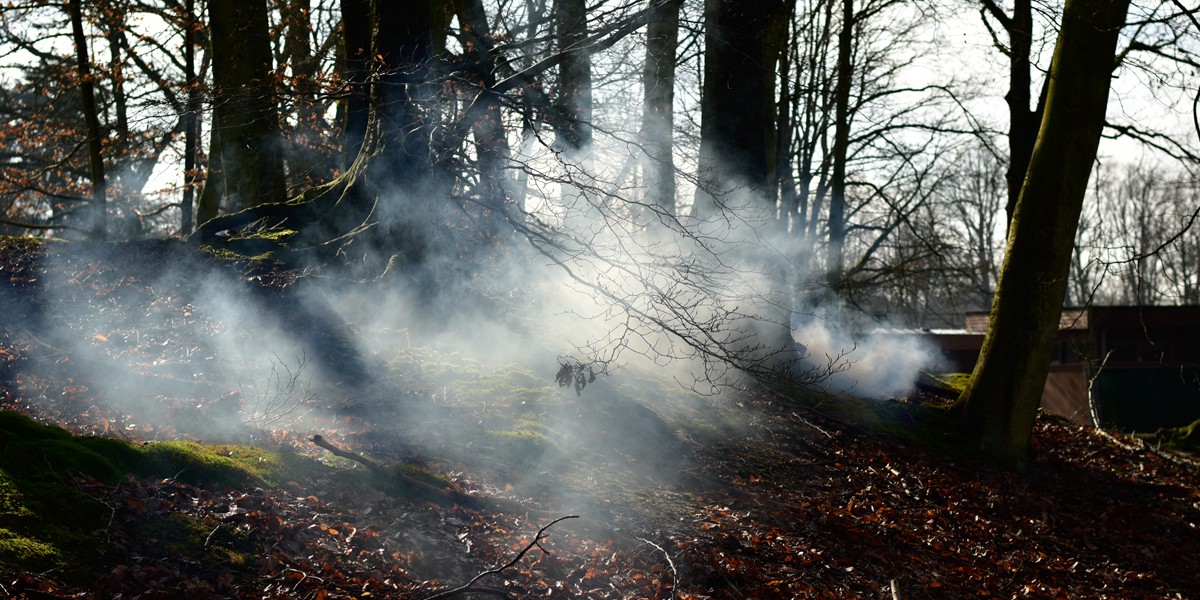 To create the evening haze of the shot, the crew brought in a Mini V fog machine. The output added just the right amount of fog into the air – enough to add a little texture into the shot without turning it into “models in the mist.”
While Mr. Van den Eynde clearly has years of experience and great skill, none of steps he took to create this photo were complicated or expensive. We encourage you to try them out during your next photo shoot. If you do, make sure you tag Rosco when you post them up to Facebook, Instagram or Google+.
Here are a few extra behind-the-scenes shots from the photo shoot.

Andy Van den Eynde is a commercial photographer, based in Antwerp, Belgium. To see more of Andy’s amazing work, visit his website: andyvandeneynde.be.
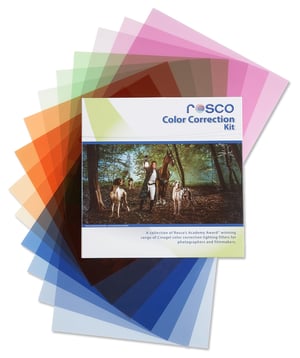 You can learn more about the Color Correction Filter Kit on our website.
Frank Lambrechts October 01, 2015 Questions?