


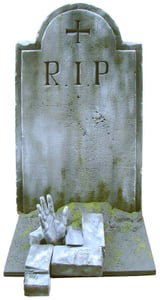
 Everyone’s seen the inexpensive foam tombstones that you can buy around Halloween. However, if you’re looking for tombstones that will survive more than one season – here is an easy DIY tombstone recipe from our friends at 4D Modelshop in the UK that uses Rosco FoamCoat to make them much stronger. Note how using the FoamCoat on the carved tombstones also allowed them to use spray paint on the foam - without melting their carved, ‘foam-made’ masterpiece.
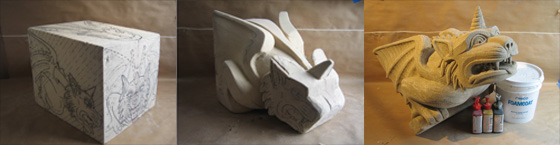
If you’re aiming your Halloween décor away from the morose and toward the macabre – then use the same FoamCoat techniques above to create gargoyles. Peter Miller from Rutgers University shared this process with us for sculpting lifelike gargoyles out of a block of foam.
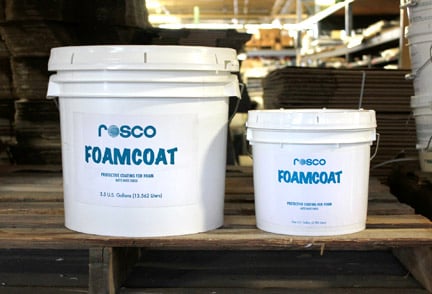 FoamCoat is available in single and 3.5 gallon buckets
If your tombstones or gargoyles need to be extra-strong, we suggest three coats of FoamCoat:
• Coat One: One part water to one part FoamCoat. The watered down FoamCoat will seep into the open areas between the foam cells to strengthen the foam.
• Coat Two: Tint the FoamCoat with Off Broadway #5382 Paynes Grey and apply onto the foam to establish a base coat of FoamCoat and color for your project.
• Coat Three: Use the tinted FoamCoat again, this time in a shade lighter and/or darker than the first. Use the third coat to create any desired texture and dimension.
It’s best to let each coat dry for 1-2 hours before applying the next coat. If your third layer is particularly thick and textured, you might want to consider letting it cure overnight before adding any final painted details.
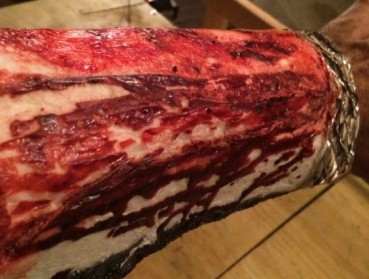 There are several recipes for different blood effects out there - here’s ours: 3 parts Rosco CrystalGel mixed with one part red food coloring. This recipe offers up thick, sculptable, shapable blood effects that dry with a gloss – making the bloody club, or blood spattered wall always appear as if it’s covered in wet, sticky blood and gore.
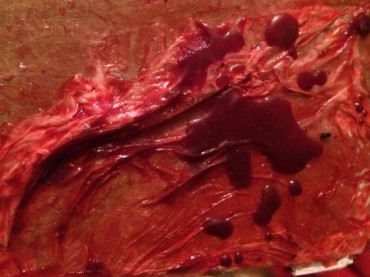 You can also use the recipe to create coagulated blood effects by making the blood a little darker and coating tissue paper in the CrystalGel mixture to add opacity and a crinkled, molded texture to the effect. It's worth noting that this recipe is quite permanent. It's great for scenery, props or even costumes that you want to look wet & bloody for many Halloween seasons to come.
If you’ve got any Halloween special effects you’ve created with Rosco products – we’d love to see them! Post them up to Twitter or Instagram and tag them @Rosco_Labs. Happy Halloween!
Joel Svendsen October 30, 2014 Questions?

Marketing Director: Joel's Rosco career began in Rosco's Hollywood office in 1999 – first in sales covering the Western US and the Los Angeles Film & Television market, and then as Product Manager for Rosco's Film & Television Products. Joel's knowledge about Rosco's products and how they're used in each of our different marketplaces makes him well suited for bringing the stories in Spectrum to life.