Paul Yeates is an Assistant Professor of Lighting & Scenic Design at Idaho State University who I first met during a Teachers Training For Scenic Painting course at Cobalt Studios. Paul had a strong background in both lighting and scenic design, and he had a lot of experience painting scenery - all of which led to some healthy conversations about color theory and paint vs. light. Flash forward a year later – Paul had encountered a theatrical challenge involving UV effects for a show at ISU. He reached out to me and we worked out a solution together. Paul tells the story below.
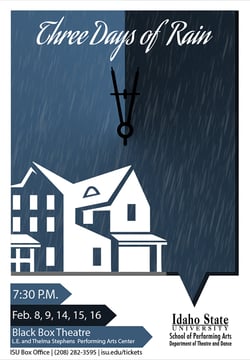 When the Idaho State University Theatre Department decided to produce Three Days of Rain, by Richard Greenberg inside our small, flexible black box theater, we settled on concept, color palettes and a corner configuration relatively quickly. The Director, Stefan Espinosa, wanted to utilize the concept of a semi skeletal set as a way to reference the decay of time. A month later, however, he approached me and said he had started to think about how the father character and his business partner are architects, and that he wanted me to find a way to incorporate blueprints into the design.
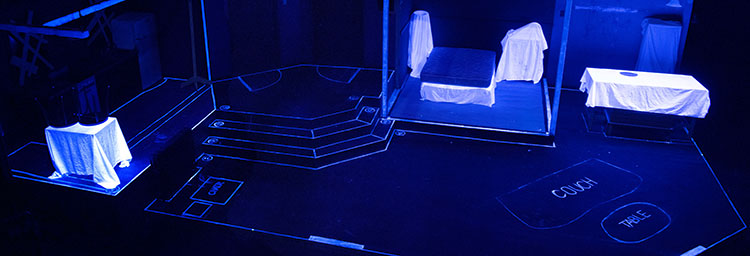
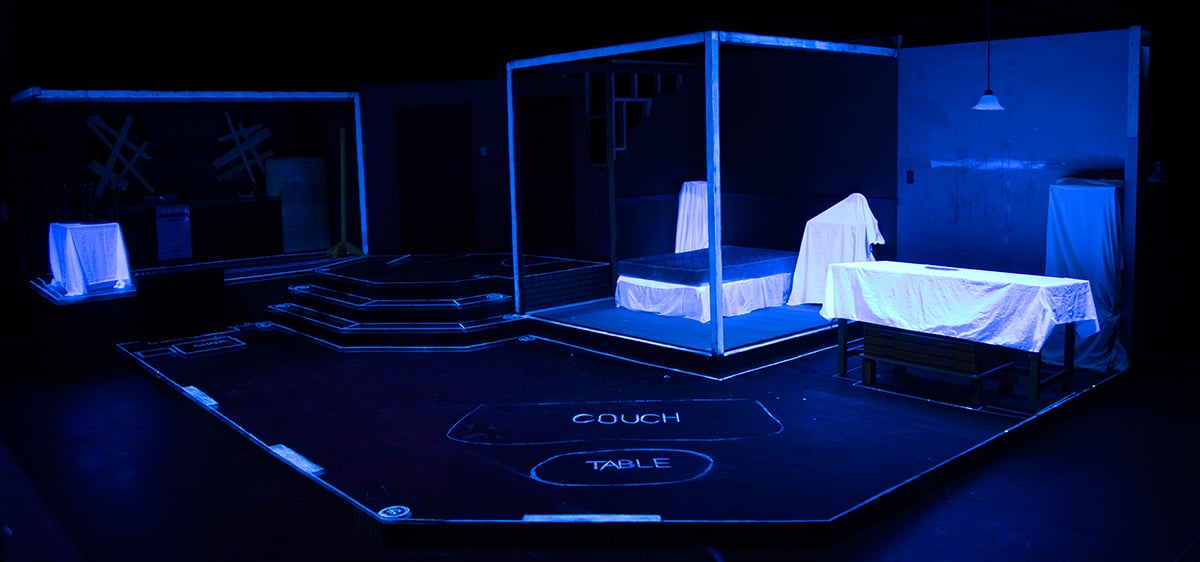
Since we had already gone pretty far in the initial direction and most of the early design process was moving into the drafting phase, I had to think of a bold new way to accomplish Stefan’s request. I was in a hotel room one night after a dress rehearsal for another gig I was designing and really stretching my brain to figure out this challenge. Then the solution hit me - why not overlay the scenery with fluorescent paint so that a very basic blueprint design would be revealed by UV light?
 The trouble was, I didn’t know how to approach this. I had never even used fluorescent paint before. I had seen other UV ideas in the past that seemed amateur and ineffective, which made me very unsure about this new concept. I immediately sent a message to Rosco’s Jenny Knott, who called me back to talk about how to implement this idea. We discussed how Rosco Fluorescent Scenic Paint functions and she sent me a can of Invisible Blue to experiment with. We didn’t have any UV lighting devices in our stock at ISU, so Jenny set me up with demo UV unit of Rosco’s Miro Cube UV365 LED fixture.
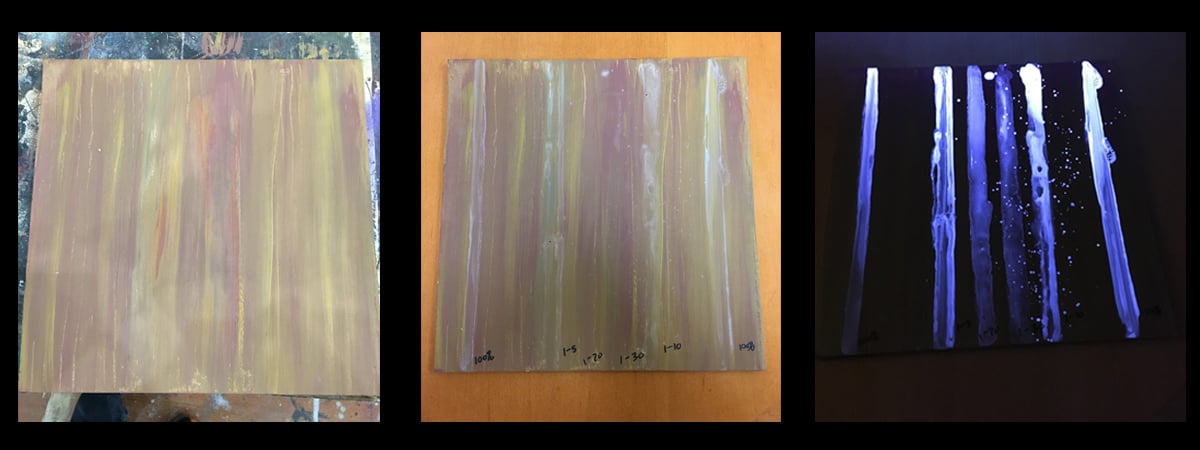 Paul's testing boards: (1.) initial wood grain (2.) with different Invisible Blue ratios (3.) Under UV light
I started by producing a mock woodgrain and then produced a letdown chart experimenting with different ratios of paint and water mixes. I finally decided on mixture of 1 Tbsp. of paint to 30 Tbsp. of water. That seemed incredibly watery to me and I wasn’t sure how the strength of the paint would work under the UV light, it seemed fine in small room tests, but I was apprehensive about it in the bigger space. We finished the woodgrain details on the floor and applied the mixture by turning off most the work light in the space and turning on the UV LED to full. With a soft glow of work light, we could sufficiently see enough to apply the paint to a glow.
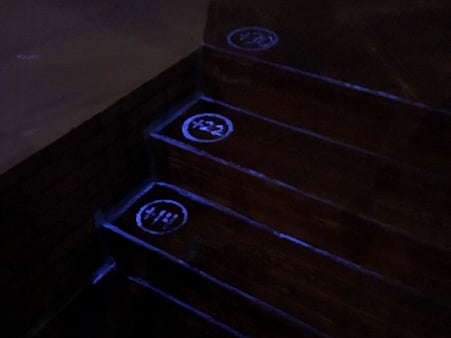 Once applied I turned the lights out and we were all amazed at how strong that watered down mixture was able to glow and radiate our blueprint concept. All of us were also really excited about the fact that you could not even see this paint under normal stage light. After these positive test results, I got the green light to buy two more Miro Cube UV LED lights. All three fixtures were throwing about 20-25 feet inside our 40’x60’ black box space to create an amazing effect.
A few things we learned:
- Any kind of fabric, or material on stage that is bleached white, it will glow incredibly strong. We made it work for our production as the glowing covers we used on the furniture and the mattress didn’t really pull the audience out of the world we were creating, but it might not for you.
- Work carefully with the paint. If it drips and you don’t clean it up quickly, it will glow and hiding it with another coat doesn’t always work and it will still shine through (we learned that one from experience).
- Keep your brushes separate until you clean them out. If UV paint on your brush mixes with other colors you’re using to paint areas that AREN’T supposed to glow under UV, you’ll have a huge issue to clean up. Lucky for us, this was a lesson we learned while experimenting in the shop, so we didn’t have any fluorescent contamination on our set.
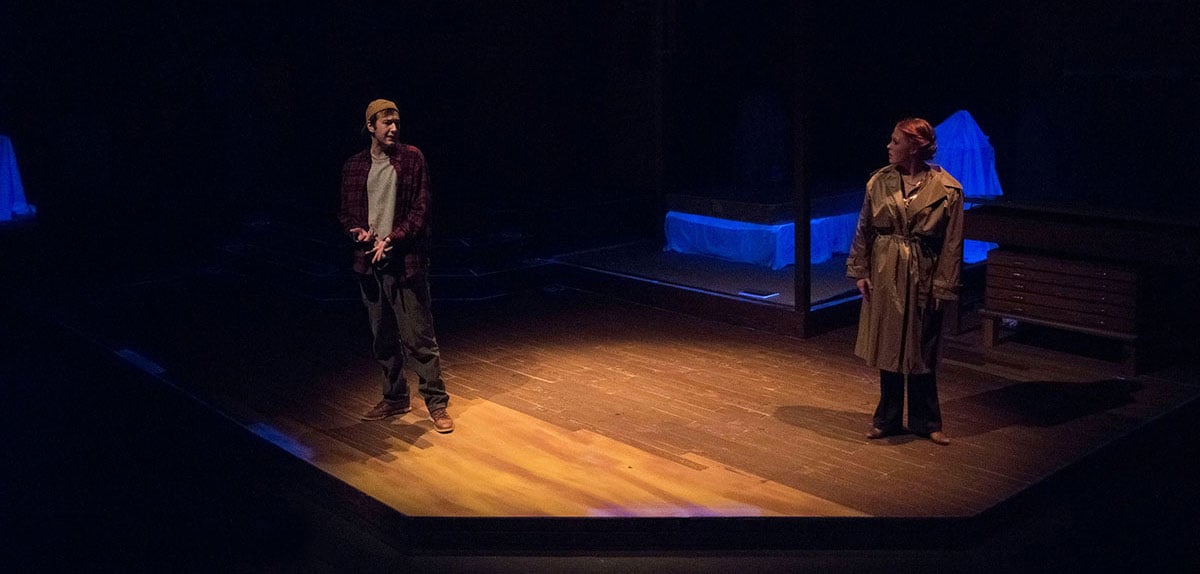 Overall this technique was a phenomenal choice for us and our concept. The audience, the faculty and the students ate this up and minds were blown. Professionally, it was a great challenge for me to hurdle and it stretched me as a designer to a new level. The biggest thing I learned is that UV is not scary to use. it requires a little thought, a lot of preparation, good UV lighting fixtures and, as my friend Jenny Knott at Rosco would say, time for testing – testing – testing. I’m excited to go further with other UV paints. I can’t wait to take the ideas I’ve learned and put them to work in future projects.
Production Photo Credit: Julie Hillebrant
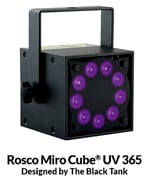 Many thanks to Paul Yeates for sharing his story with us. You can view more of Paul’s scenic and lighting design work at pyeatesdesign.wixsite.com. If you’d like to learn more about the products he used to create the UV effects in Idaho State’s production of “Three Days of Rain,” visit the Fluorescent Paint and the Miro Cube UV365 product pages on the Rosco website.

