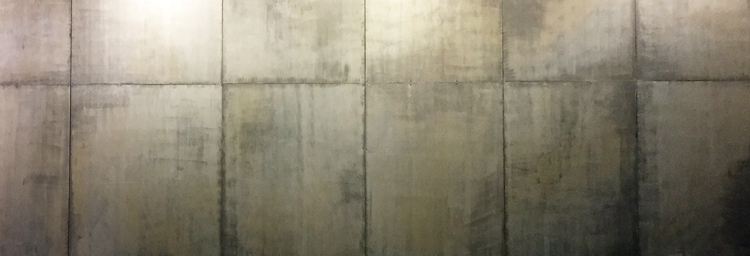
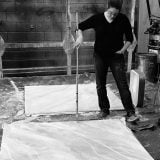
I thought the first time I was asked to paint a full faux metal set was a fluke, a once in a blue moon event that would be fun and challenging. Well I was wrong. I have since been asked to paint four more faux metal sets – making it five total in the past three years.
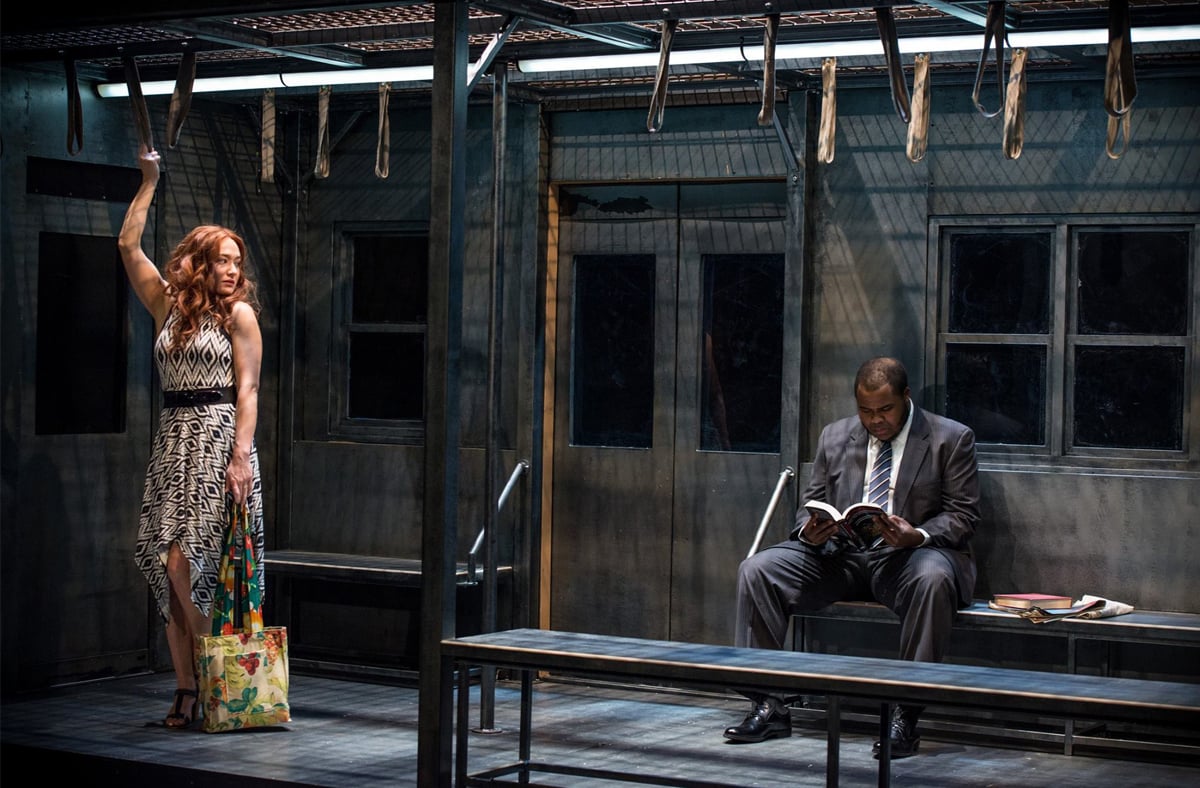 Harold Adam Harris & Kate Guentzel in “Dutchman” at Penumbra Theatre. Photo Credit: Allen Weeks
The first time I tackled this task was for a double-billed production of Dutchman and The Owl Answers at Penumbra Theatre. For that production, I not only had the biggest budget, but more importantly, I had the most time. This allowed me to really dig in deep and spend time sampling to create stellar scenery based on Maruti Evans elegant set design, which had a subway car as the central scenic element on stage for both shows.
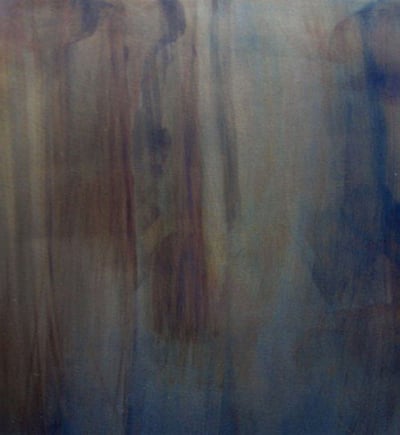 Research example of actual rolled steel
The concept was to re-create the look of rolled steel with paint. The sets were built at the University of Minnesota Scene Shop and Jason Allyn-Scherwin, the TD there, was crucial in helping me determine what base-materials would create a super smooth steel effect. Right off the bat – that meant that plywood and muslin were out. We decided on MDO, MDF and real Steel (that yes, I painted to look like… another type of steel).
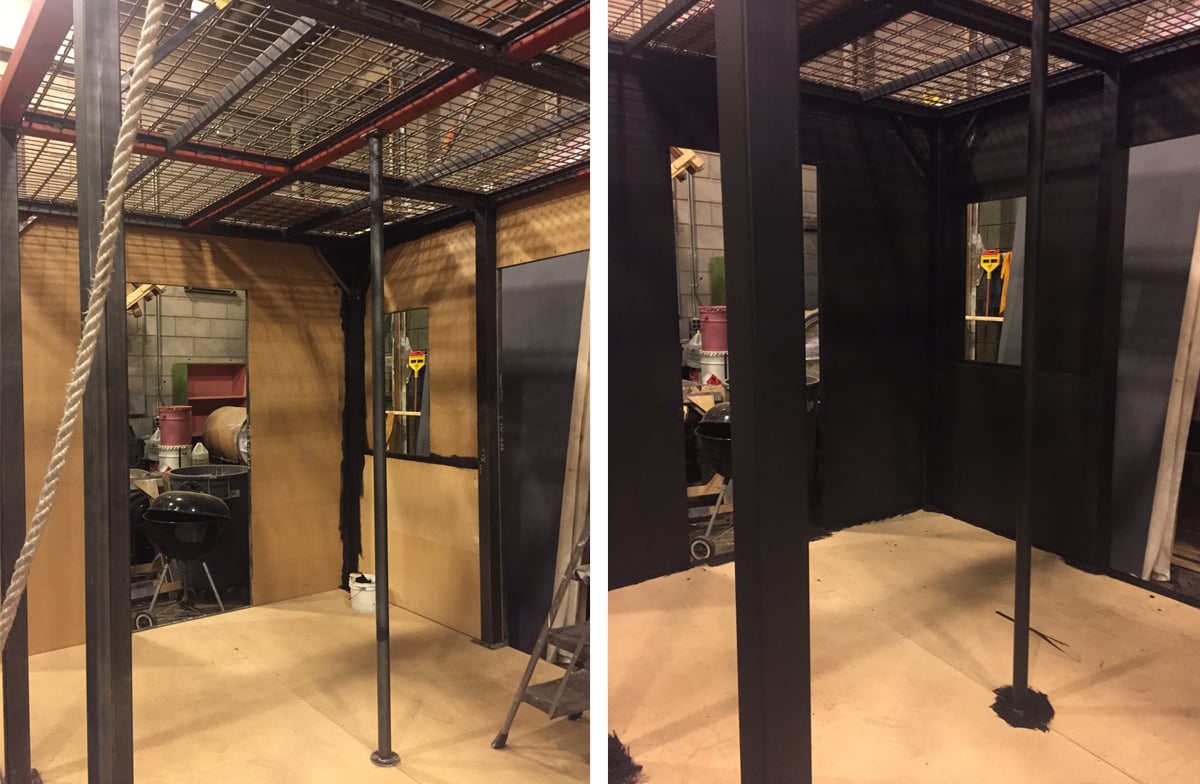 Subway car before (L), primed in Rosco Tough Prime Black (R) - notice how consistent the finish is despite three different substrates
After several experiments I realized that if I created a silver tinted glaze and gently rolled it over a black base I could get the stellar results I was searching for. With so many surfaces all needing to match each other, however, it was imperative that the substrates began with the same finish. Rosco Tough Prime Black to the rescue! This one product performed three steps on this project: it primed the steel, it primed and sealed the MDF and the MDO, and it provided the deep rich back base-color I needed consistently on each panel. I also liked that when I didn’t need it full strength, I could thin it by 25-30% and it would stay black and not go grey.
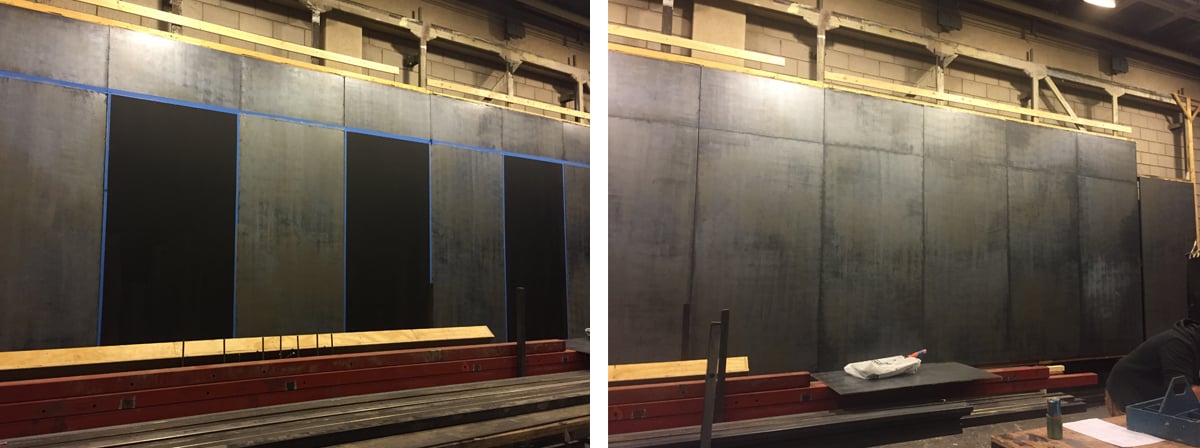 From primer to finish – using the seams of the materials to her advantage helps create that rolled metal sheet effect
I began my paint sampling with the easiest answer – silver paint from my local big box store. Guess what! Silver paint ain’t steel – it just looked cheap and it didn’t have any of the depth and the color changes that I needed to create a rolled steel effect. After lots of experiments, I realized that if I created a silver tinted glaze and gently rolled it over the Tough Prime Black base, I could get some stellar results.
For the glaze, I found that Rosco’s Clear Gloss Acrylic performed the best on this project. It had the proper consistency, dried a bit slower for longer working time and was still really strong; so I knew it would hold up to any abuse it might suffer during transportation, load-in and performance.
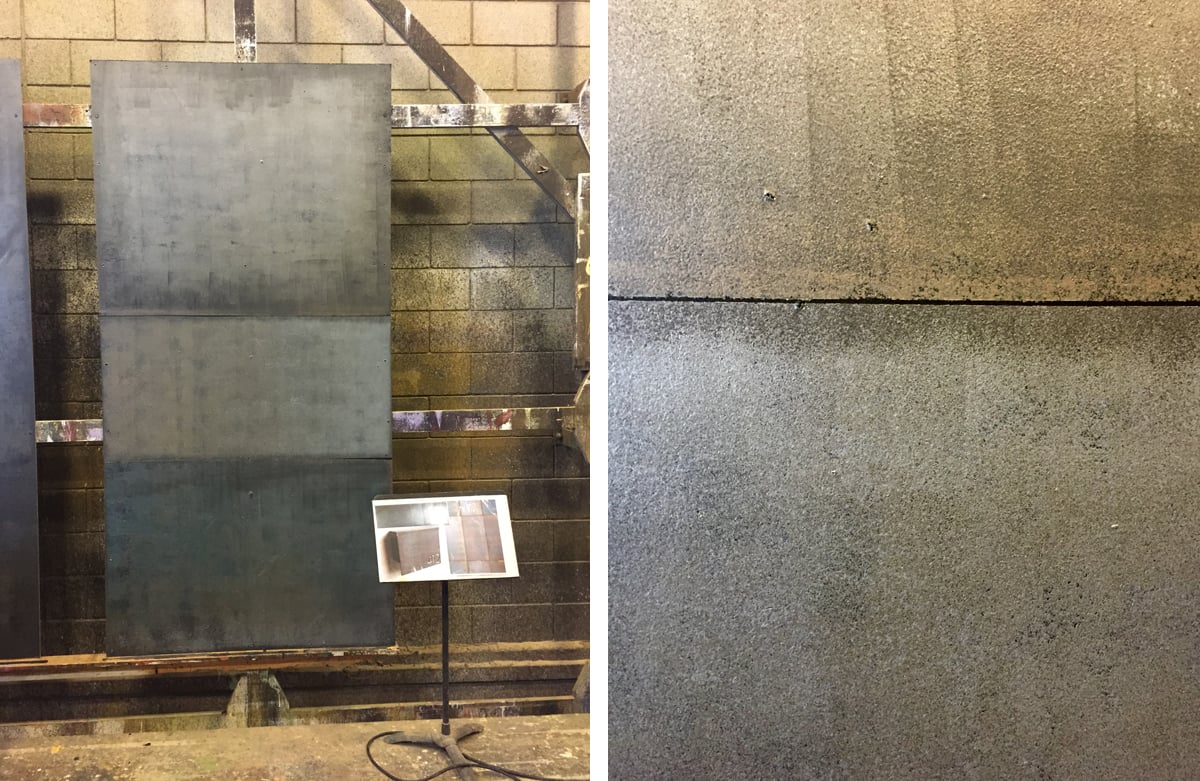 My initial glaze sample board (L) and my sample after mixing color into the silver (R)
I also ended up mixing in small amounts of Rosco Off Broadway paint colors like Earth Umber, Van Dyke Brown and Pthalo Blue. Once I mixed up the color silver I wanted, I’d slowly add that paint mix into the glaze until I got a nice level of transparency when it dried. I was surprised at how powerful the silver was! My ratio ended up around one-part silver to four-parts glaze. These slightly different tinted mixes of silver glaze enabled me to create a better range of textured colors as I applied the glazes on top of the Tough Prime Black.
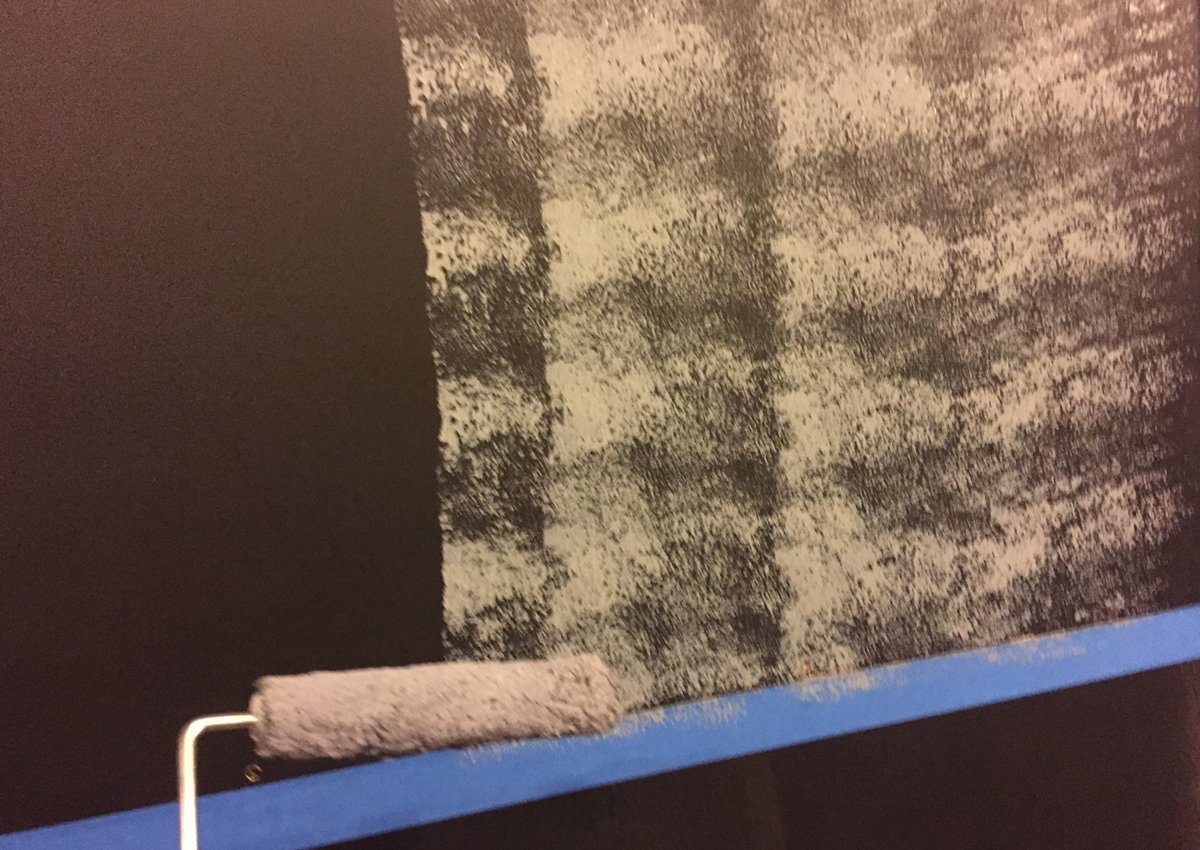 Applying the silver glazes to the Tough Prime Black surfaces with a weenie roller
The secret weapon was a thick napped weenie roller - It gave me the ability to control the amount of paint, create an uneven, yet still regular pattern, and be able to it layer over other tones. I would lay down a pattern going vertical and then come back working horizontally to spread out the paint and make it more transparent to help it match the finish of the rolled steel research I was given.
 Austene Van, center, in “The Owl Answers” at Penumbra Theatre. Photo Credit: Allen Weeks
What I loved about this process was the luxury of time to figure out a rolled steel technique that provided a textured surface for the set, which looked marvelous once it was lit. The four subsequent faux steel projects I worked on certainly didn’t afford that luxury to me. Thankfully, I was ablt to adapt this basic technique in the following faux steel shows as I added more random scumble for one show, tons of spatter for the next, and forced highlights and shadows in the one after that. I hope this technique becomes the starting point for your next faux steel project and that you find clever ways to adapt it into your scenic process.

