

Recently I hosted a smokin’ workshop at my studio in Boston’s historic South End. Actually it wasn’t smoke, it was fog from a Rosco Mini-V fog machine! We also used a Rosco Location Lighting Filter Kit, which is filled with the Rosco materials I use the most - both in my professional work as a photographer and in my photography workshops. This particular workshop was a two-day advanced course and everyone in attendance had previously taken one of my workshops. Wanting to make sure the attendees got the most out of this workshop, I decided to shoot a series of portraits that incorporated a complex lighting setup.
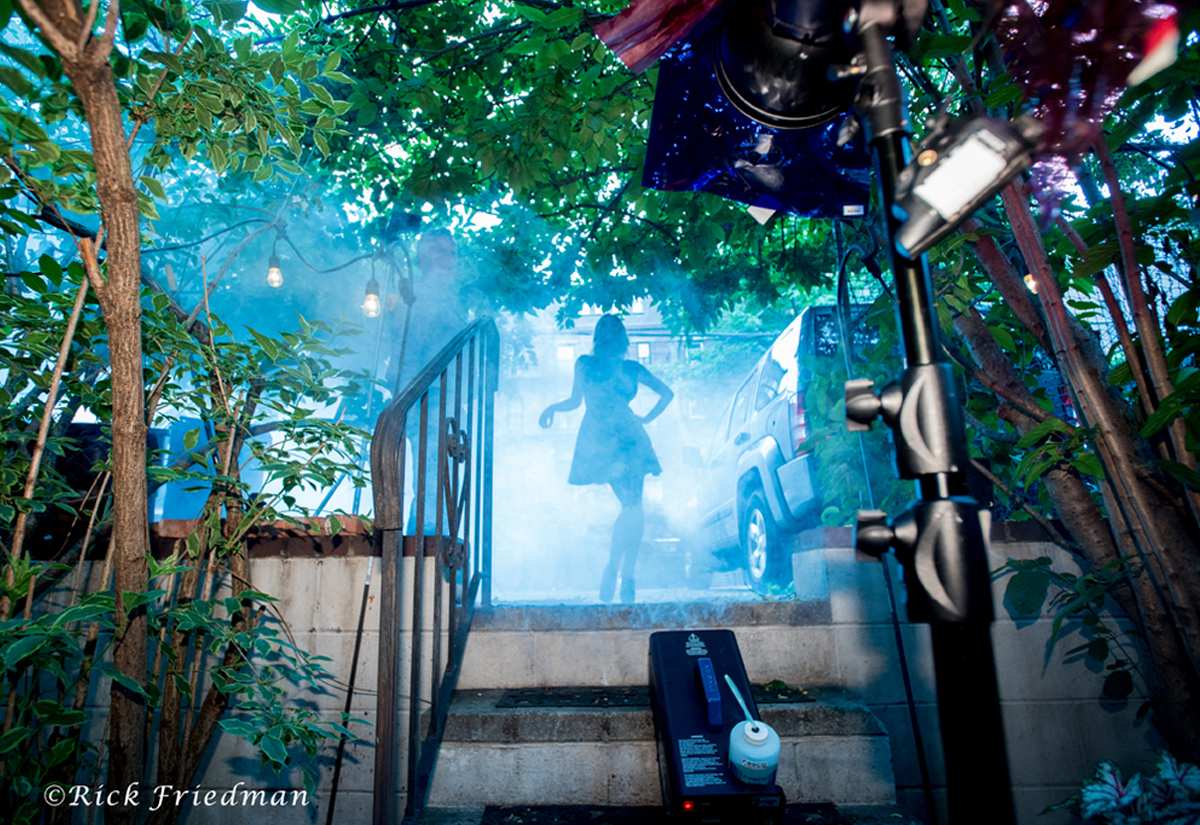 Behind the scenes in the courtyard of my Boston studio
It was a slightly rainy day in the courtyard behind the studio, so all the strobes and electrical connections had to be covered in plastic. The courtyard is 22’ x 40’ minus the space for the garden, meaning that we had a 15’ x 30’ space to work in. Below are two of the "smokin' lighting setups" from the workshop:
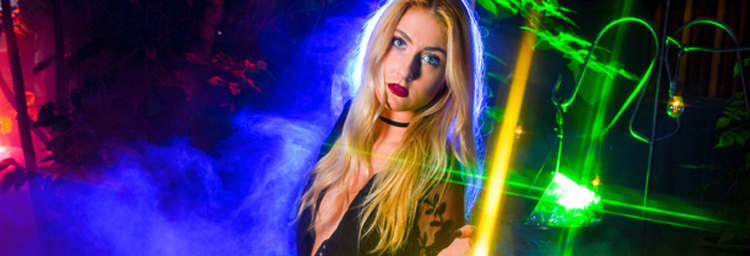
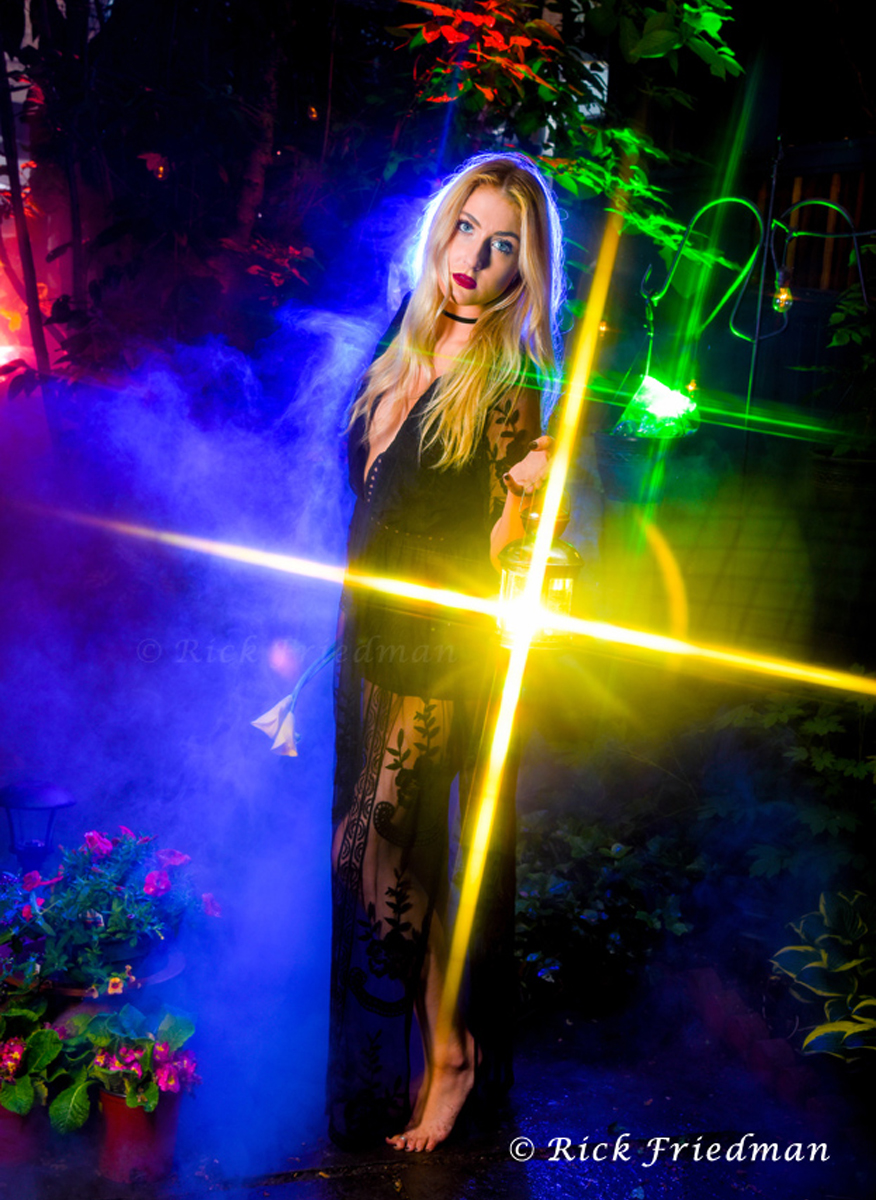 The main light was a Dynalite Baja 600 with a Chimera Strip Lightbank and barn doors to control the direction of the light. I placed the Mini-V fog machine stage left, just outside the frame.The key to photographing smoke is to backlight it, so we set up another Dynalite Baja directly behind the model with a 20-degree grid and a Rosco blue gel. We placed 4 Nissin speedlights with different color Rosco gels in ziplock bags on the ground and in the tree. The lantern was lit with a mini optical slave that had a yellow Rosco gel and a piece of Rosco Tough Spun to cut the exposure. All of the Rosco gels, including the Tough Spun, came out of the Location Lighting Filter Kit. Finally, I used a cross screen camera filter to create the star effects.
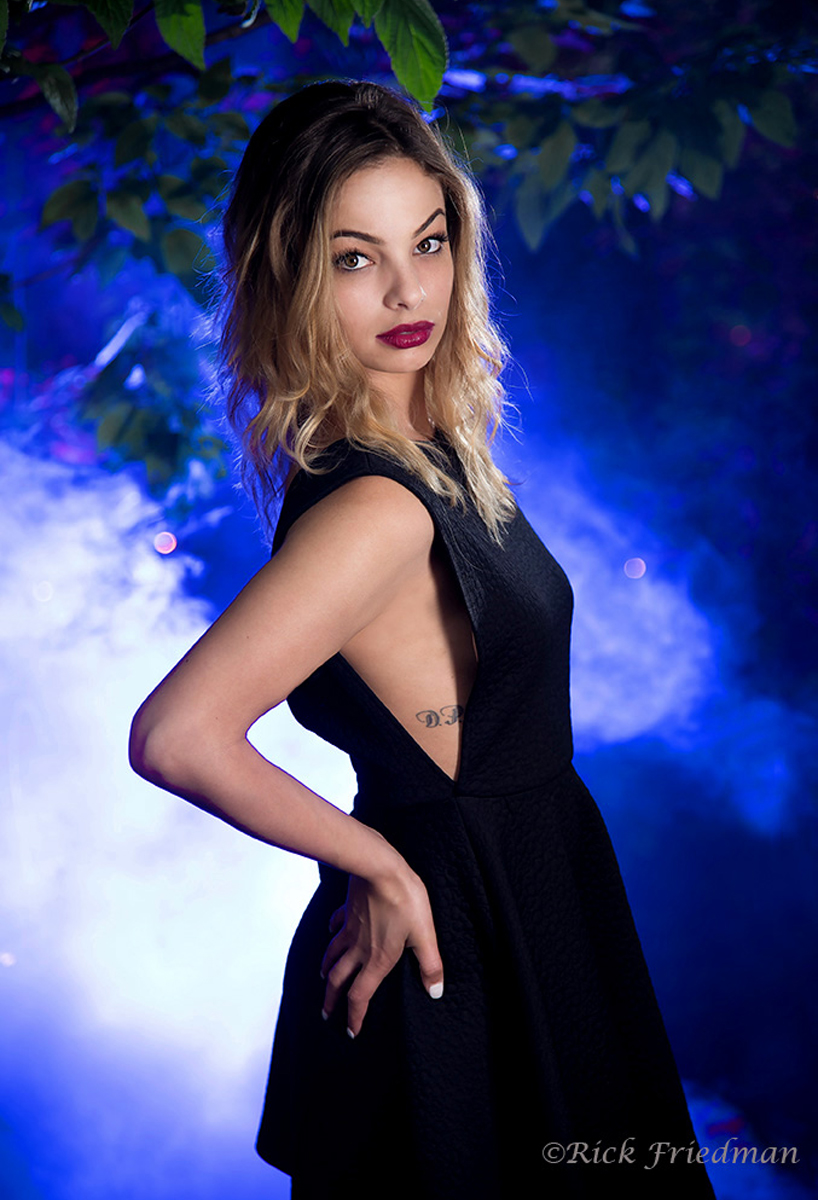
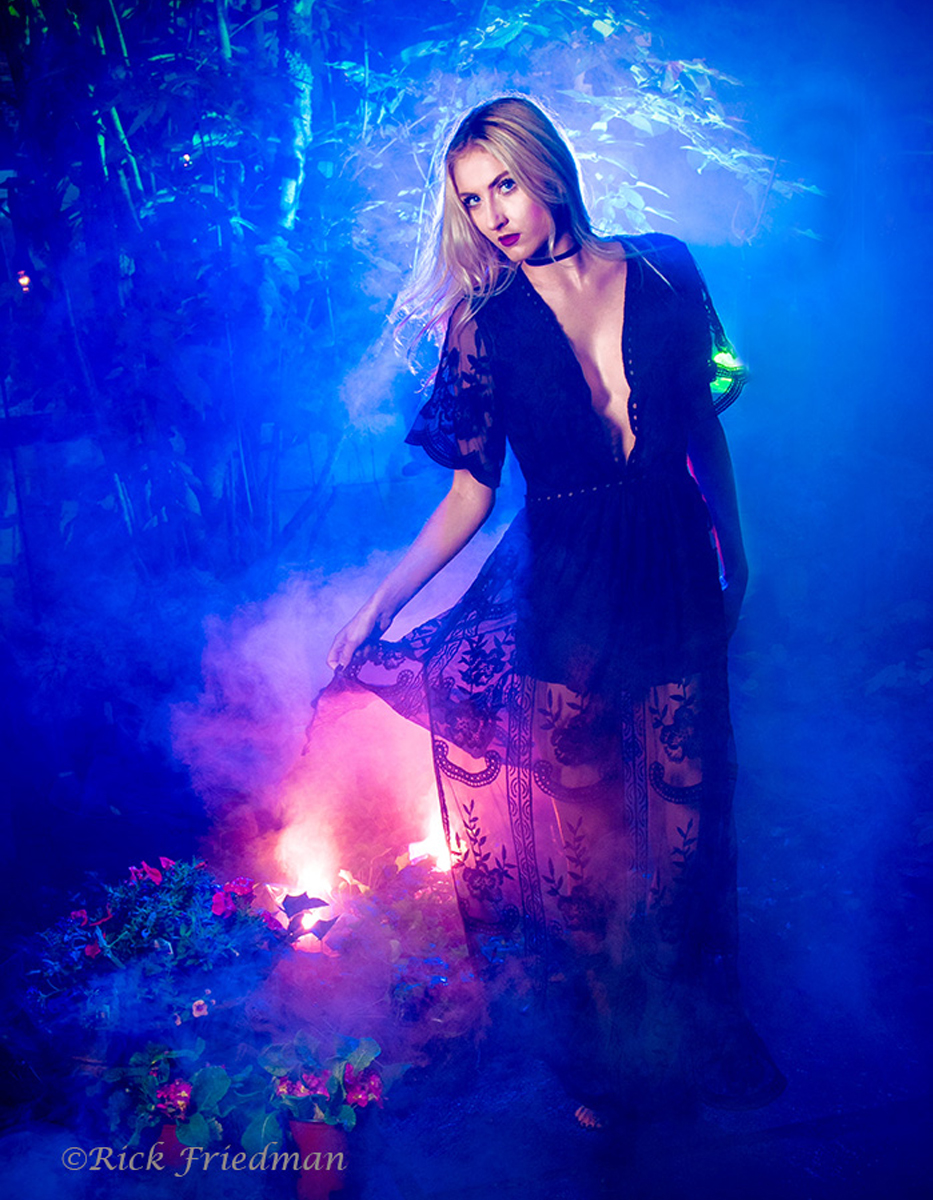 This second photograph utilized the same lighting setup, however, some of the gels were changed and the cross screen filter was removed. This created a more intense fog effect surrounding the model.
 Here is what the courtyard looked like without lighting.
The next lighting setup utilized two Dynalite Baja 600's and only one Nissin speedlight. Again, I used one of the Bajas with a Chimera Strip Lightbank as the main light and the other with a grid and Rosco blue gel as the backlight. The Nissin speedlight is in background as well, with a Rosco red gel that helps add a little separation to the model in the blue light.
Rick has been teaching his unique style of photography and lighting for the past 12 years. If you’re interested in learning more of Rick’s techniques, check out the schedule for his upcoming Location Lighting Workshops™ and see if he's got a workshop near you anytime soon.

Rick Friedman July 07, 2016 Questions?