

One of the key factors photographer Jay P. Morgan focuses on in his photo tutorials at The Slanted Lens is great lighting. In a recent lesson, he provided some tips on how to shoot a hummingbird. In order to provide the necessary lighting he needed for the high-speed photo shoot, Jay P. relied on Rosco’s new LitePad Vector™ CCT LED light.
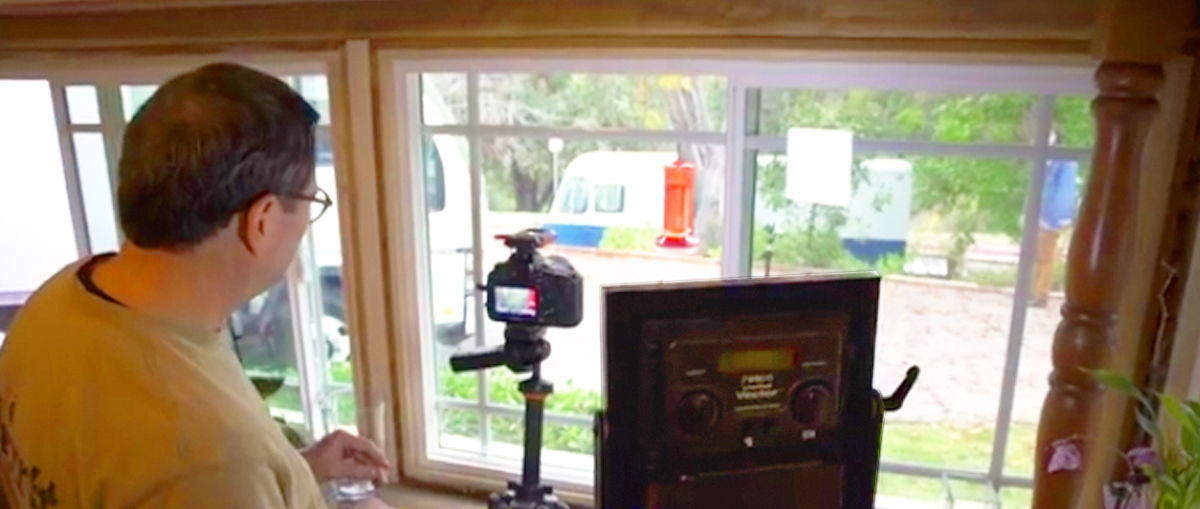
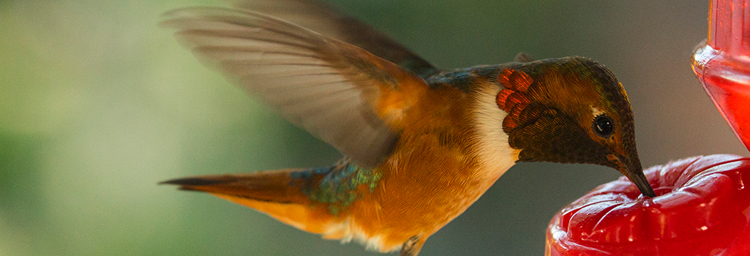
The concept of the shot was to set up a camera inside the house to shoot the hummingbird feeder outside. “We’re exposing for outside because that’s my whole background. But then the bird was very dark.”
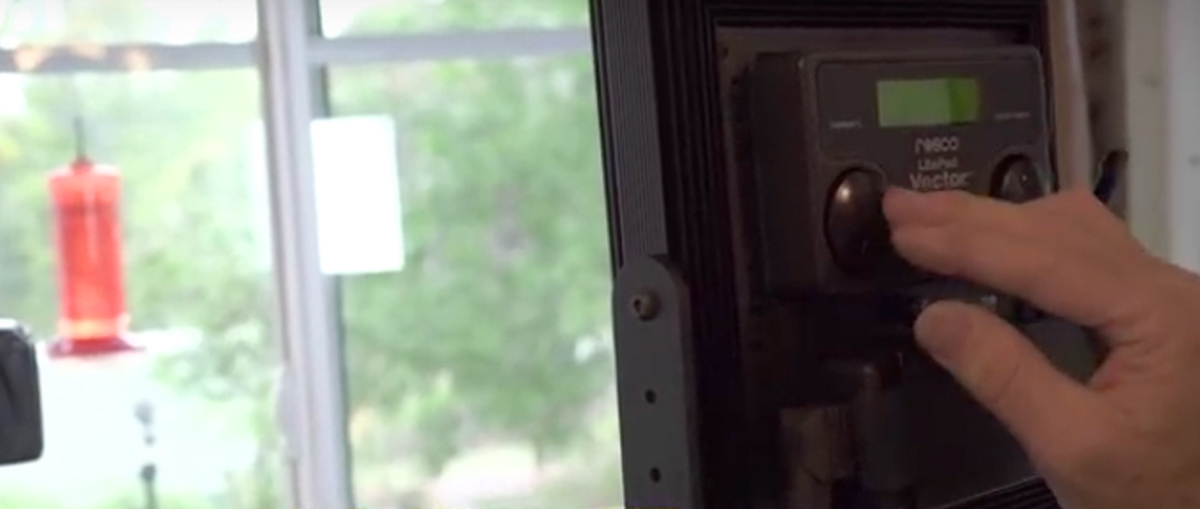
To get more illumination on the hummingbird, Jay P. placed a LitePad Vector close to the window, which helped show off the wonderful details of its plumage. “I put [the LitePad Vector] on the right power setting to give us a nice kind of balance of light so it opens up the bird and makes it look nice up front.” The LitePad Vector CCT has on-board dimming & color temperature controls to help create enhancing, soft light.

The LitePad Vector was bright enough for Jay P. to use – even at the high shutter-speeds needed to properly capture the humming bird. “By exposing for the background, then bringing our Vector light in to brighten up the bird, it gave us a nice balance and we’re ready to shoot.”
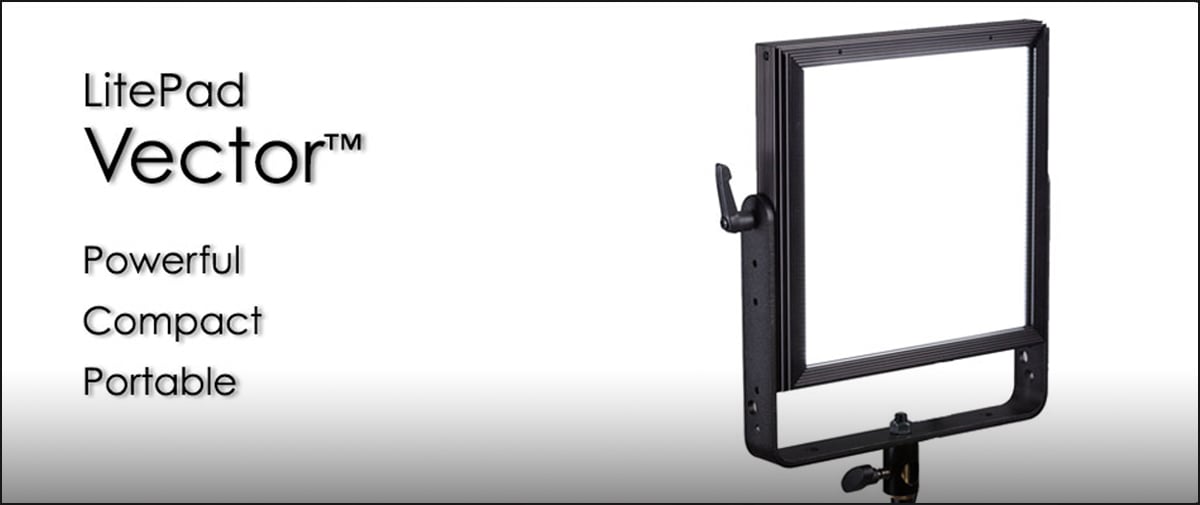
LitePad Vector is perfect for creating powerful, soft, and even illumination on just about any subject you would want to photograph. Think of it as an 8”x8”, self-contained, LED Softbox that’s less than 3 inches thick. It’s also lightweight and can be powered by standard video batteries - making LitePad Vector an excellent lighting choice for on-location photo shoots.
Be sure to visit The Slanted Lens to check out the entire transcript of the tutorial, where you can learn more about Jay P.’s camera settings, post production process and his techniques for using a laser trigger.
Chanda Goldsworthy March 08, 2016 Questions?