One of the videos on our Rosco YouTube Channel illustrates how to create low-lying fog using a Rosco Fog Machine and the Rosco Cold Flow.
The video was posted up just in time for Halloween, which is an obvious time for using low lying fog to create a creepy effect.
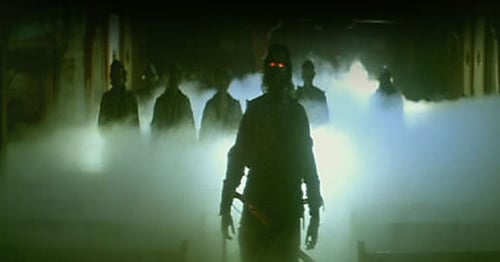
Zombies are creepier in low lying fog
Low lying fog is also used to convey water, ice & snow and to hide stage rigging for moving scenery effects on the stage deck. When the Phantom boats Christine away to his lair underneath the Paris Opera House, the boat is 'floating' on fog and it's low-lying fog covering up the wires pulling the boat along.
 Another clever use for low lying fog on stage is to add a 'foggy day' look to your city-scape backdrop.
 One of the purposes of our YouTube videos is to answer some of our most frequently asked questions. "How do I make low-lying fog" is certainly one of them. Low-lying fog can be used for several different purposes - but I always preface the answer with "creating low-lying fog is not an easy or inexpensive proposition." In all low-lying fog scenarios - you need to turn one form of matter into another. For instance, when you drop a block of dry ice into water to create the low-lying effect - you're turning that solid into a gas. Dry ice isn't exactly readily available, nor is it cheap and even a large, 50 pound block of dry ice doesn't sustain a low-lying fog effect for more than 15 minutes. Utilizing a Rosco Fog Machine is a much more efficient way to make continuous smoke, but you still need some form of consumable, like dry ice or liquid CO2 (liquid dry ice), to cool the condensed warm smoke down enough to stay low.
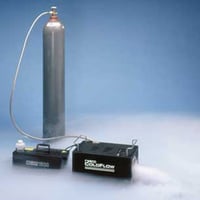
Our low-lying fog video shows how to use Rosco's Coldflow, which utilizes liquid CO2, but near the end of the video, Eric briefly mentions using a chiller box with dry ice (solid CO2) if a Cold Flow is not available. In both cases, the consumable CO2 is not the catalyst for making the fog, so in the long run it is much more affordable for scenes that need the low-lying fog effect to last. For those DIY-TD's out there, I asked Eric to expand on how to make a good chiller box and this is what he replied with:
The key to making your own chiller box is to start with as large a cooler as possible. You will want to be able to hold about 30 pounds of dry ice and still leave some room for the fog to circulate. It is best if there is a grate under the dry ice to elevate it off the bottom of the chest. A.) the cold dry ice will ruin the plastic of the cooler and B.) it's best to have the cold dry ice right in the path of the fog. The inlet and outlet that allows the fog to move in and out of the chest should be 4 inches in diameter to discourage condensation of the fog back to fluid inside the chest. Add a fan to the outlet and you have a home made chiller box. Don’t forget to always use a fast dissipating fluid in your machine like Rosco's Stage & Studio.
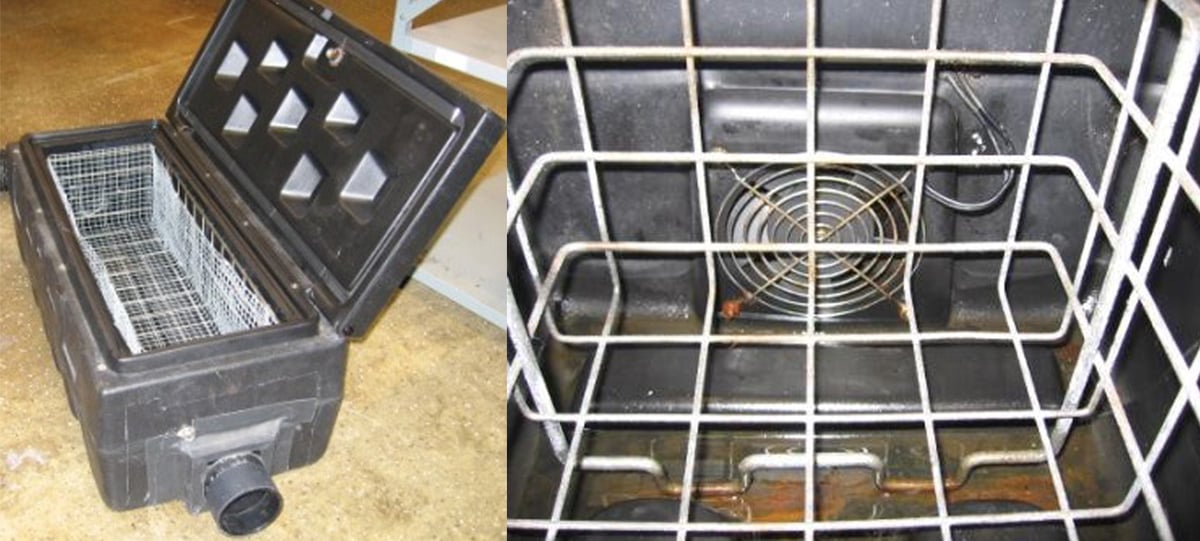 Example of a Dry Ice Chiller Box - Note the metal cage that will hold the dry ice in the path of the smoke
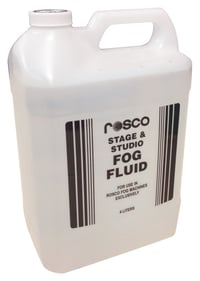
In order to have an effective low-lying effect - you must use a quick-dissipating fog fluid like our Stage and Studio Fog Fluid. Originally designed for the Hollywood Sound-STAGEs and Photographic STUDIOs - Stage & Studio was developed to create a thick, opaque fog but dissipate quickly so that there wouldn't be any lingering smoke in the next shots that don't have a smoke element. Quick dissipation is essential for the low-lying effect because when smoke is chilled it becomes denser - making it heavier than air and keeping it low to the ground. As the fog warms back up though, it will rise and turn back into 'normal' fog - thereby ruining the low lying fog effect.
Do you have pictures showing how you have used low-lying fog to create a unique effect? If so, please share them on our Rosco Facebook Page

