The following blog post was written by Gary Martin from RGG EDU – a company that specializes in online tutorials for photography – and was originally published on F-stoppers.com. To promote themselves, RGG EDU hosted an after party at PhotoPlus Expo in New York City. At the party, they wanted to have a photo booth set up to take photos of all their guests. Gary came up with the fantastic idea of using Rosco LitePads to not only light the party-goers in the photo booth - but also put their RGG EDU logo into the eyes and sunglasses of everyone who attended. Being that this is the season for corporate and holiday parties, we thought we'd share Gary's article so that others could learn how to create unique photo booth lighting that also puts logos & other customized shapes in your party-goers eyes.
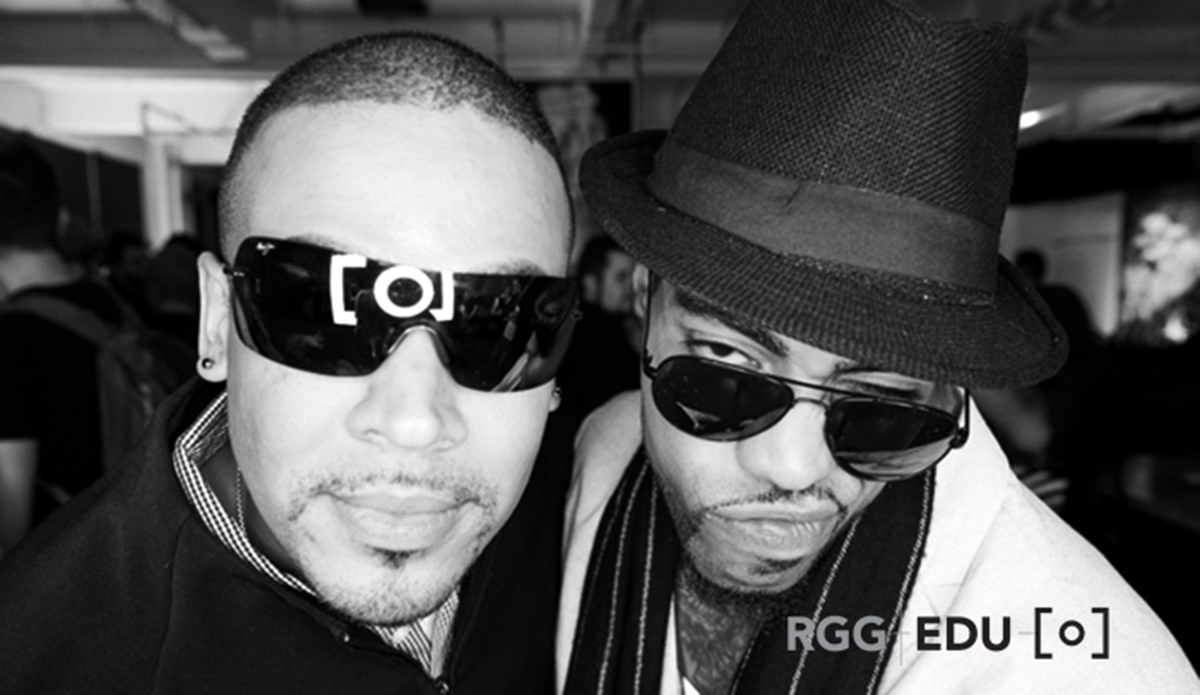
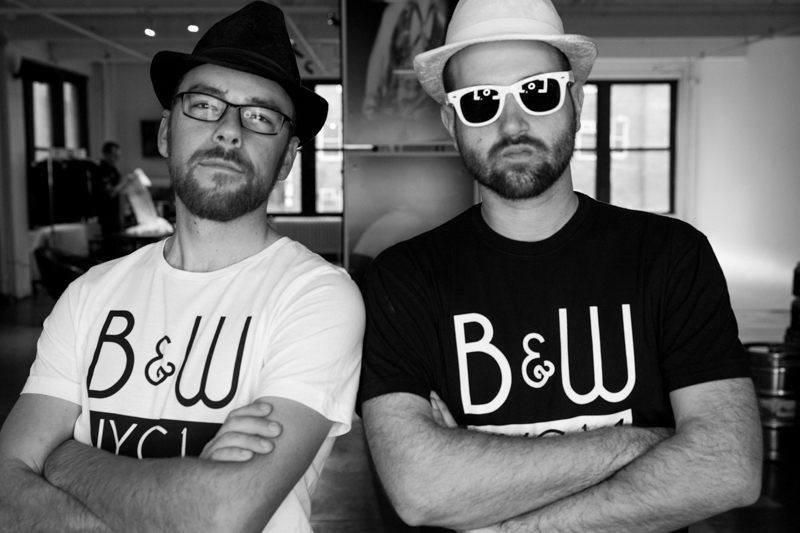
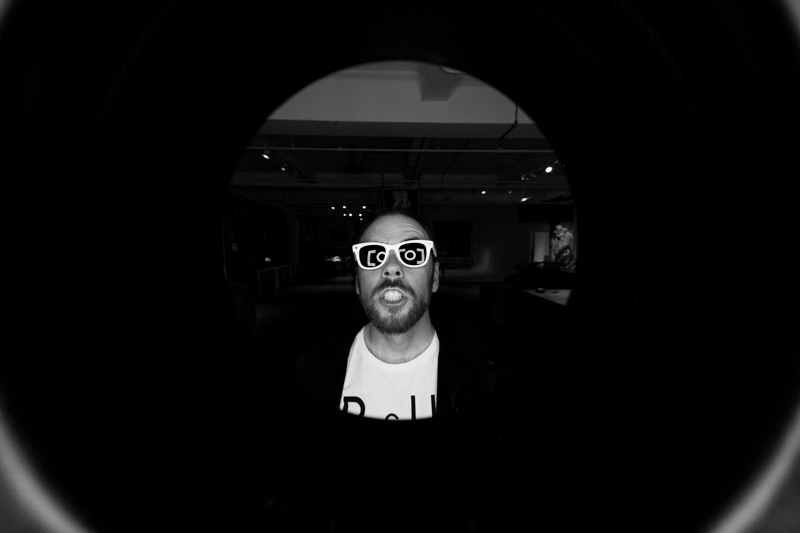
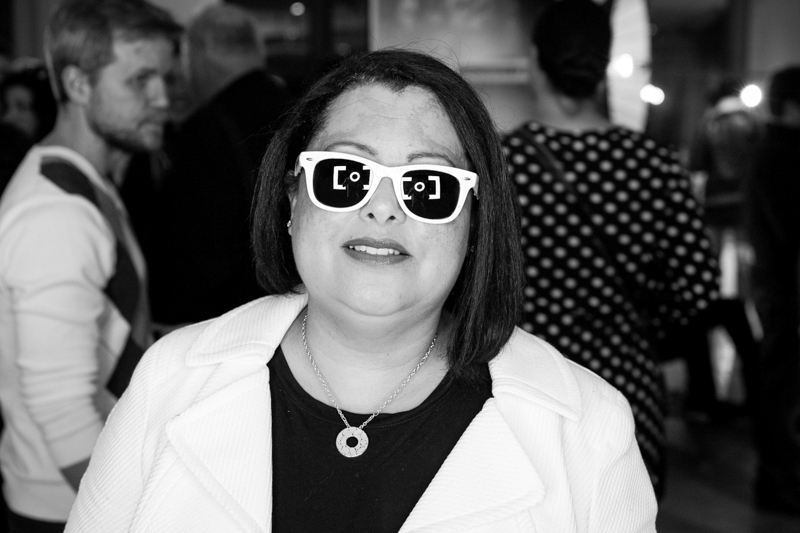
My company, RGG EDU, hosted an after party in New York during the PhotoPlus Expo convention called "Black and White." I wanted to create something unique for one of the photo booths at the event and was determined to build our logo into a photo booth that would render the logo in the catch light of every subject who stepped into the booth.
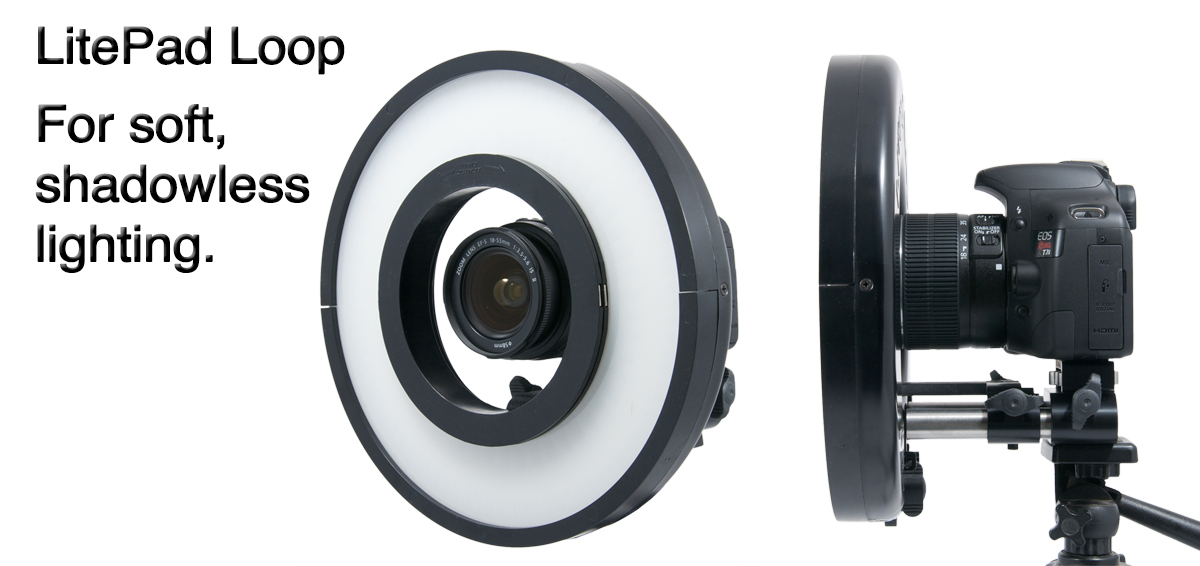
At first I though of using a series of strip lights and flagging off parts of the strips to create the viewfinder portion of our logo and a ring light in the center. After a few minutes I determined the setup would look way too clunky and be too much of a hassle to build. I then opened our LED LitePad kit from ROSCO and started arranging the thin and lightweight LitePad Axioms on the table. I was able to determine that by using ten 6"x12" LED LitePads I would be able to build the frame of our viewfinder on two C-stands and then use our ROSCO LitePad Loop Ring Lite as the center piece mounted to a tripod.
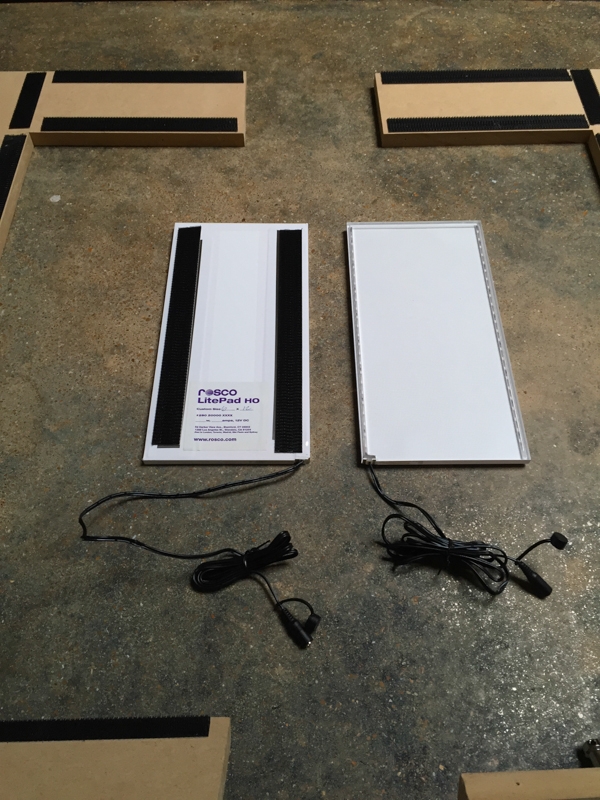
Obviously I didn't have ten of these 6 x 12 LitePad's laying around so I called ROSCO and was able to order LitePads without the metal frames found on the Axiom units in our Gaffer Kit. Upon talking more with them about what I was trying to do, they informed me that LitePads could be customized into virtually any shape and they are commonly used in architecture and custom installations all the time. The party was literally 4 days away so custom ordering a new rig was out of the question due to the time factor. I was, however, able to get some standard LitePads the very next day and began building the frame. If you are thinking about ordering a custom shape out of LitePads visit THIS PAGE or contact them directly at customlitepad@rosco.com.
Since the LitePads were borderless and the backs are completely flat, I was able to use Medium Density Fiber Board (MDF) as a material for the frame and then attach each LitePad with Scotch™ Extreme Fastener tape that looks like Velcro but is 3 times stronger than Velcro and holds up to 10 lbs. Here are the steps I took to make it:
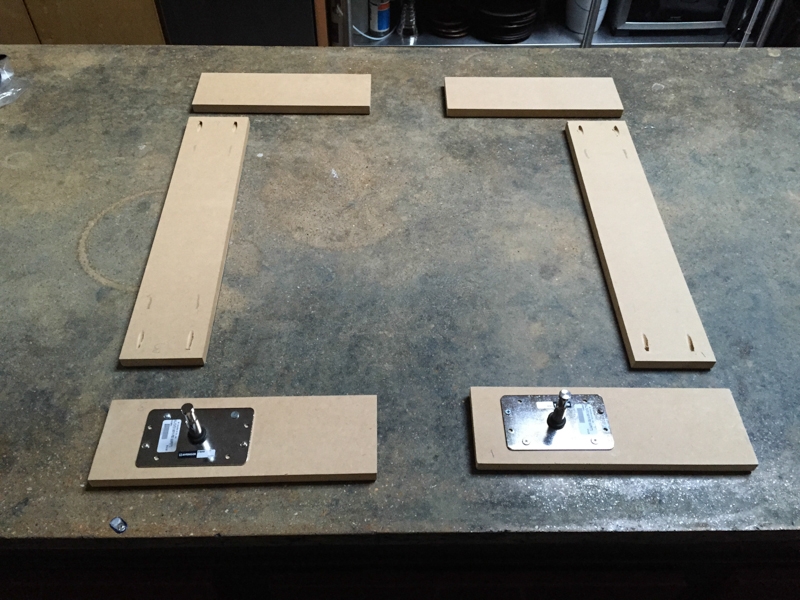
Steps 1-3
Cut the MDF into the frame size, pre-drill angled holes for 1 5/8 inch dry wall screws, and attach an Avenger F800.
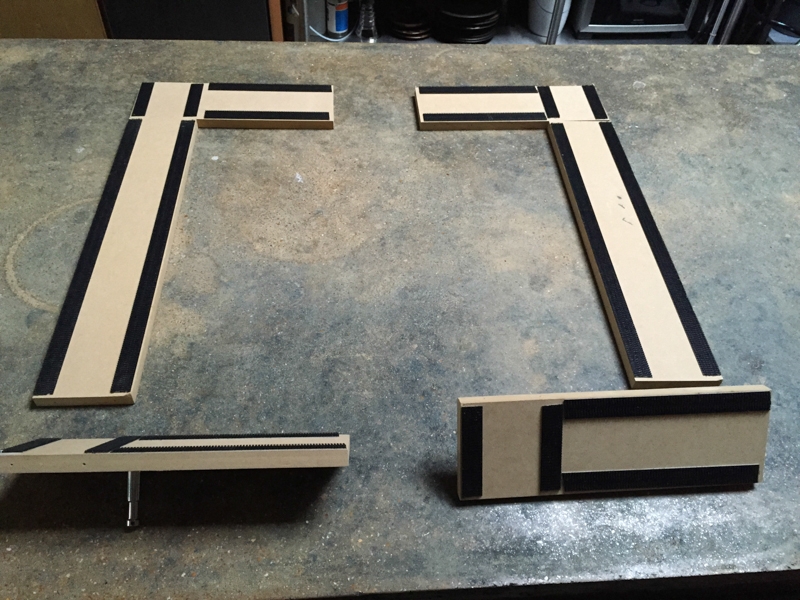
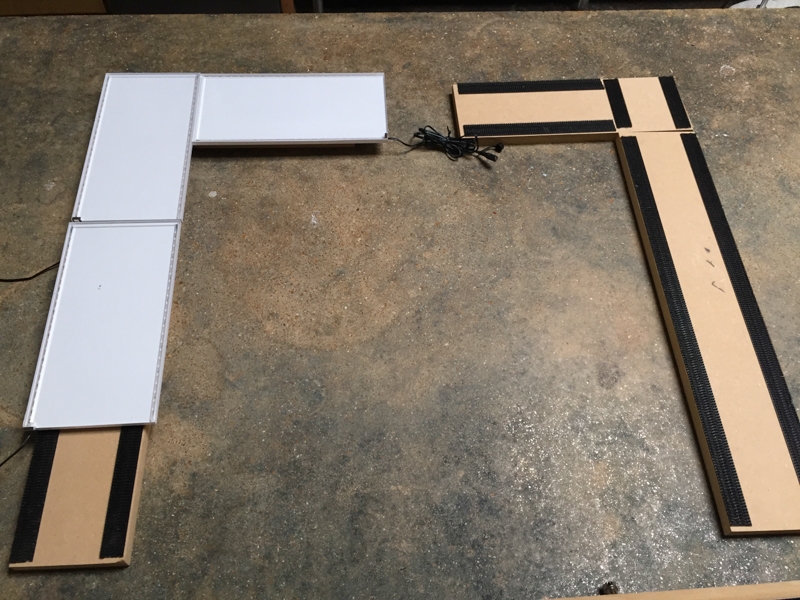
Steps 4-6
Attach one side of the Scotch Fastener Tape to the MDF panels and the other side to the back of the LitePads, screw together the MDF panels, press LitePads firmly onto the fastener tape.
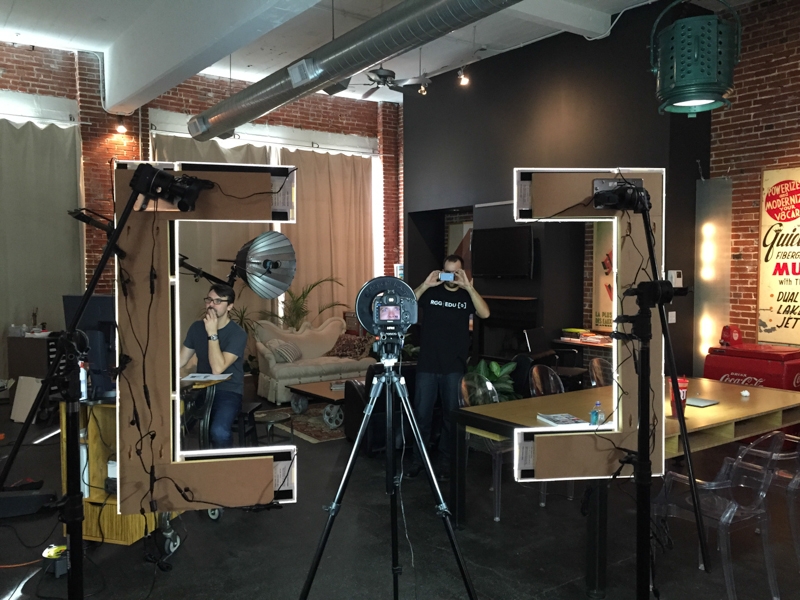
Steps 7-8
Mount the two LitePad rigs onto C-Stands and find the center of balance, mount the LitePad Loop ring light & camera onto a tripod in-between the two LitePad rigs, then find the right depth for the ring light.
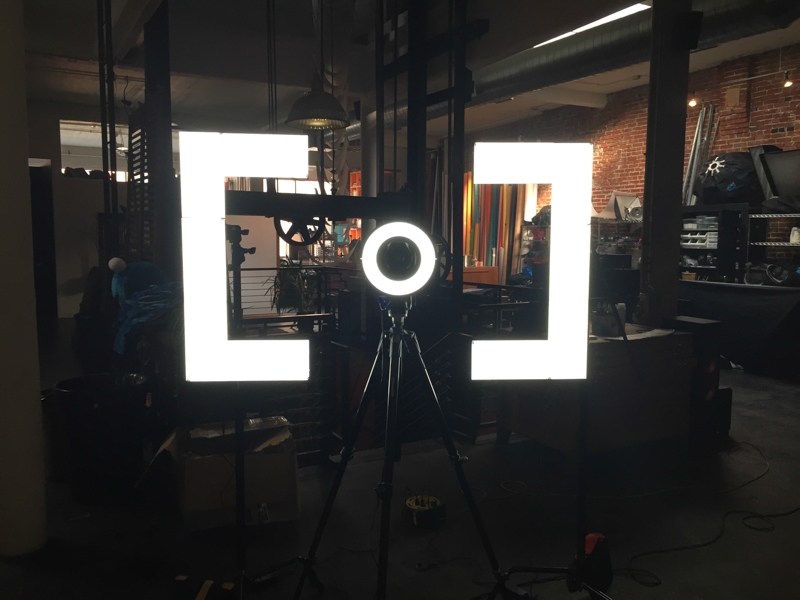
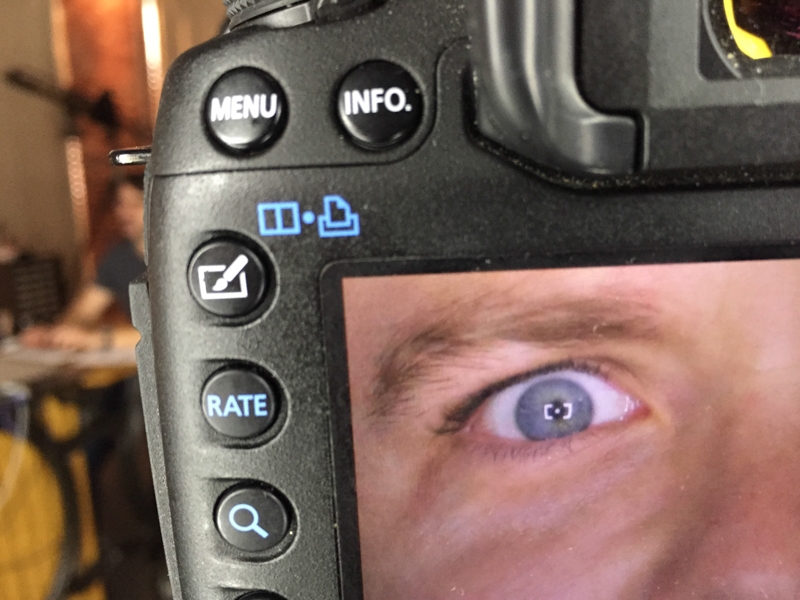
Step 9
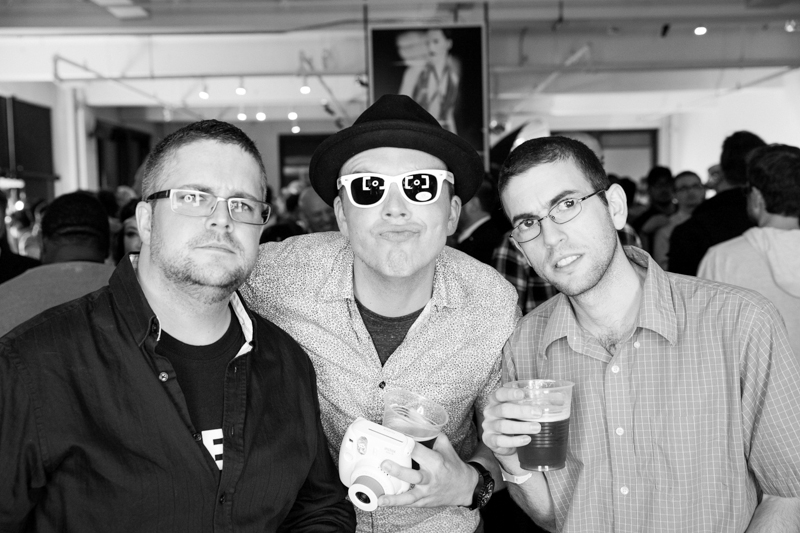
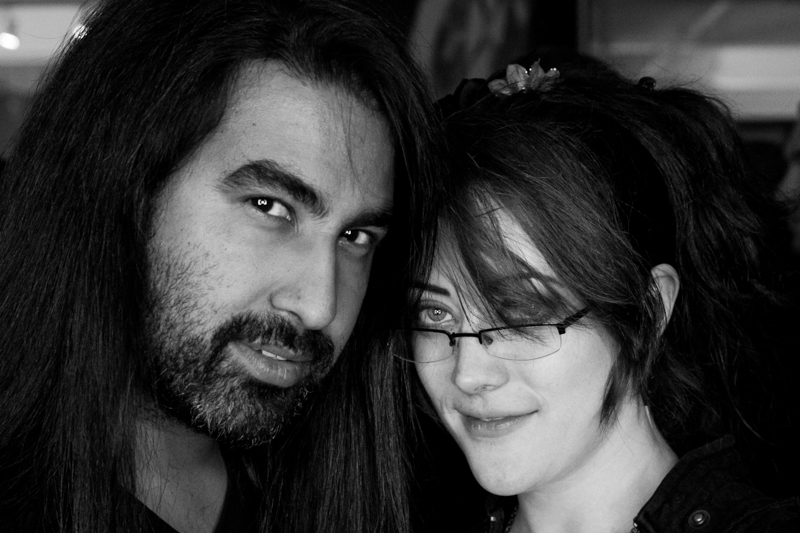
Confirm the catch light is working
Step 10
Throw A Big Ass Party and Give Everyone Sunglasses